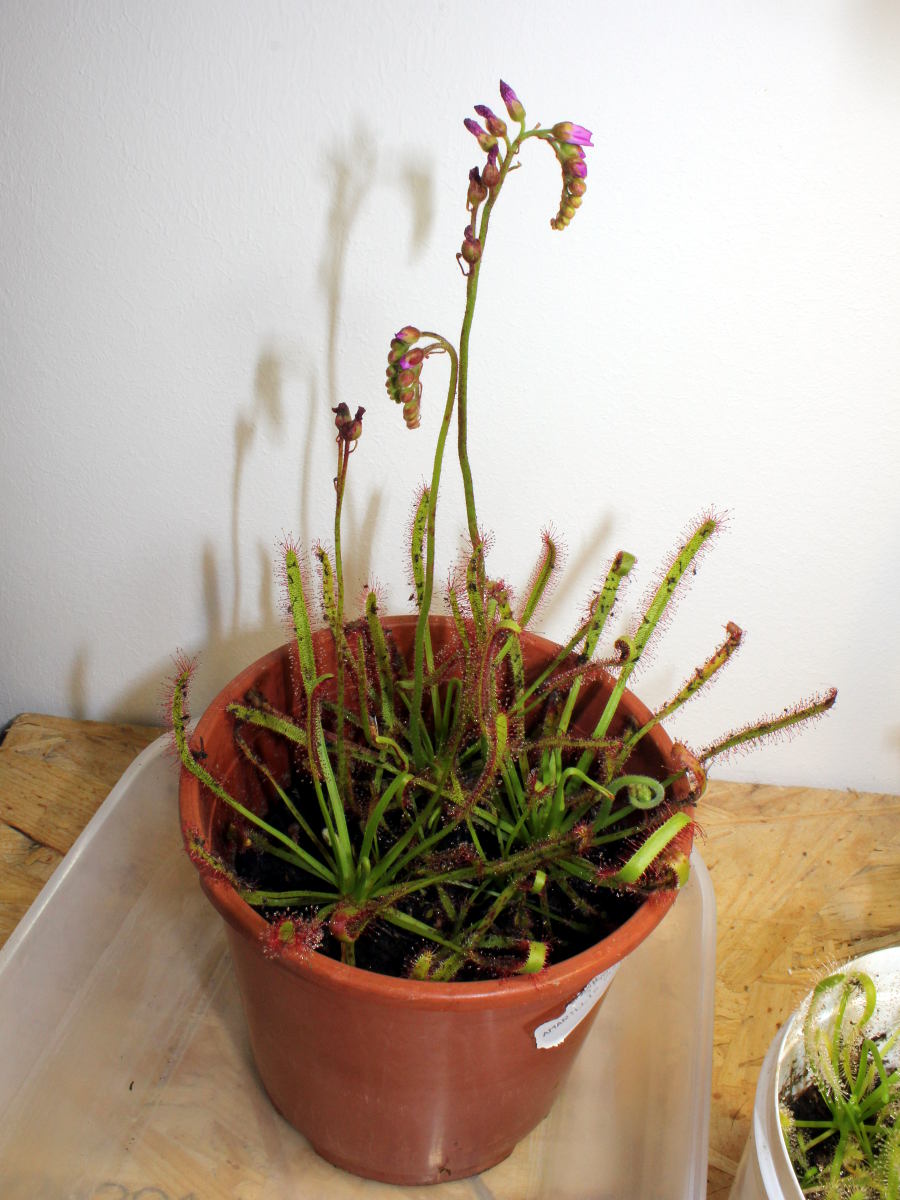
Skip to content
Cold-hardy.com
  • Home
  • Plant list
  • Bamboo Shooting Calendar
    • Bamboo Shooting Dates
  • Login
  • Sign Up
  • Search Icon

Cold-hardy.com

Gardening is fun!

Drosera capensis

Drosera capensis

February 9, 2015 tarzan Comments 1 comment

After one of close encounters with fungus gnats and aphids, I thought about growing some kind of carnivore plants, that could make problems go away. Since carnivore plants also have issues with both, I would at least get some satisfaction, watching the pest being eaten by it’s prey. I decided I’ll try growing Drosera capensis, which is supposed to be one of the easiest carnivores to grow. Sadly it’s not cold hardy, so I’ll have to keep it inside – where the gnats are, but we actually have three varieties of Drosera growing locally. Perhaps I’ll plant those outside around the pond.

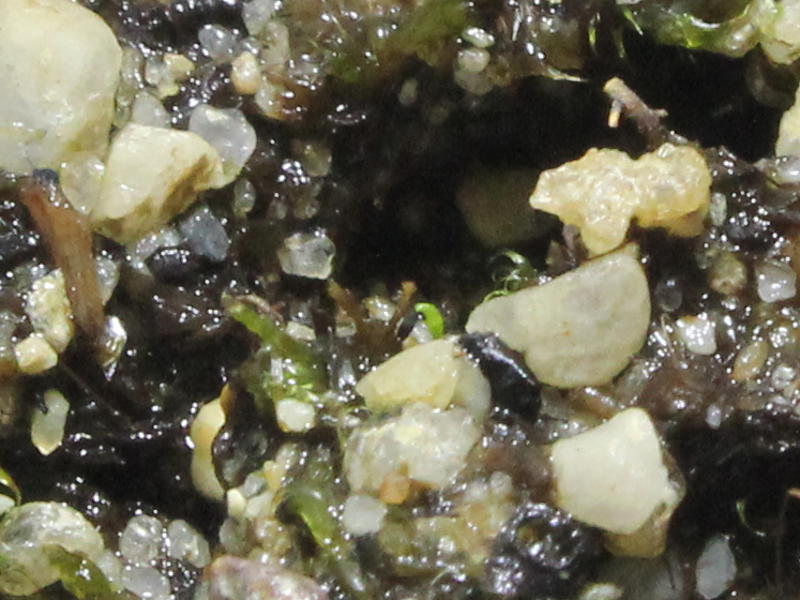
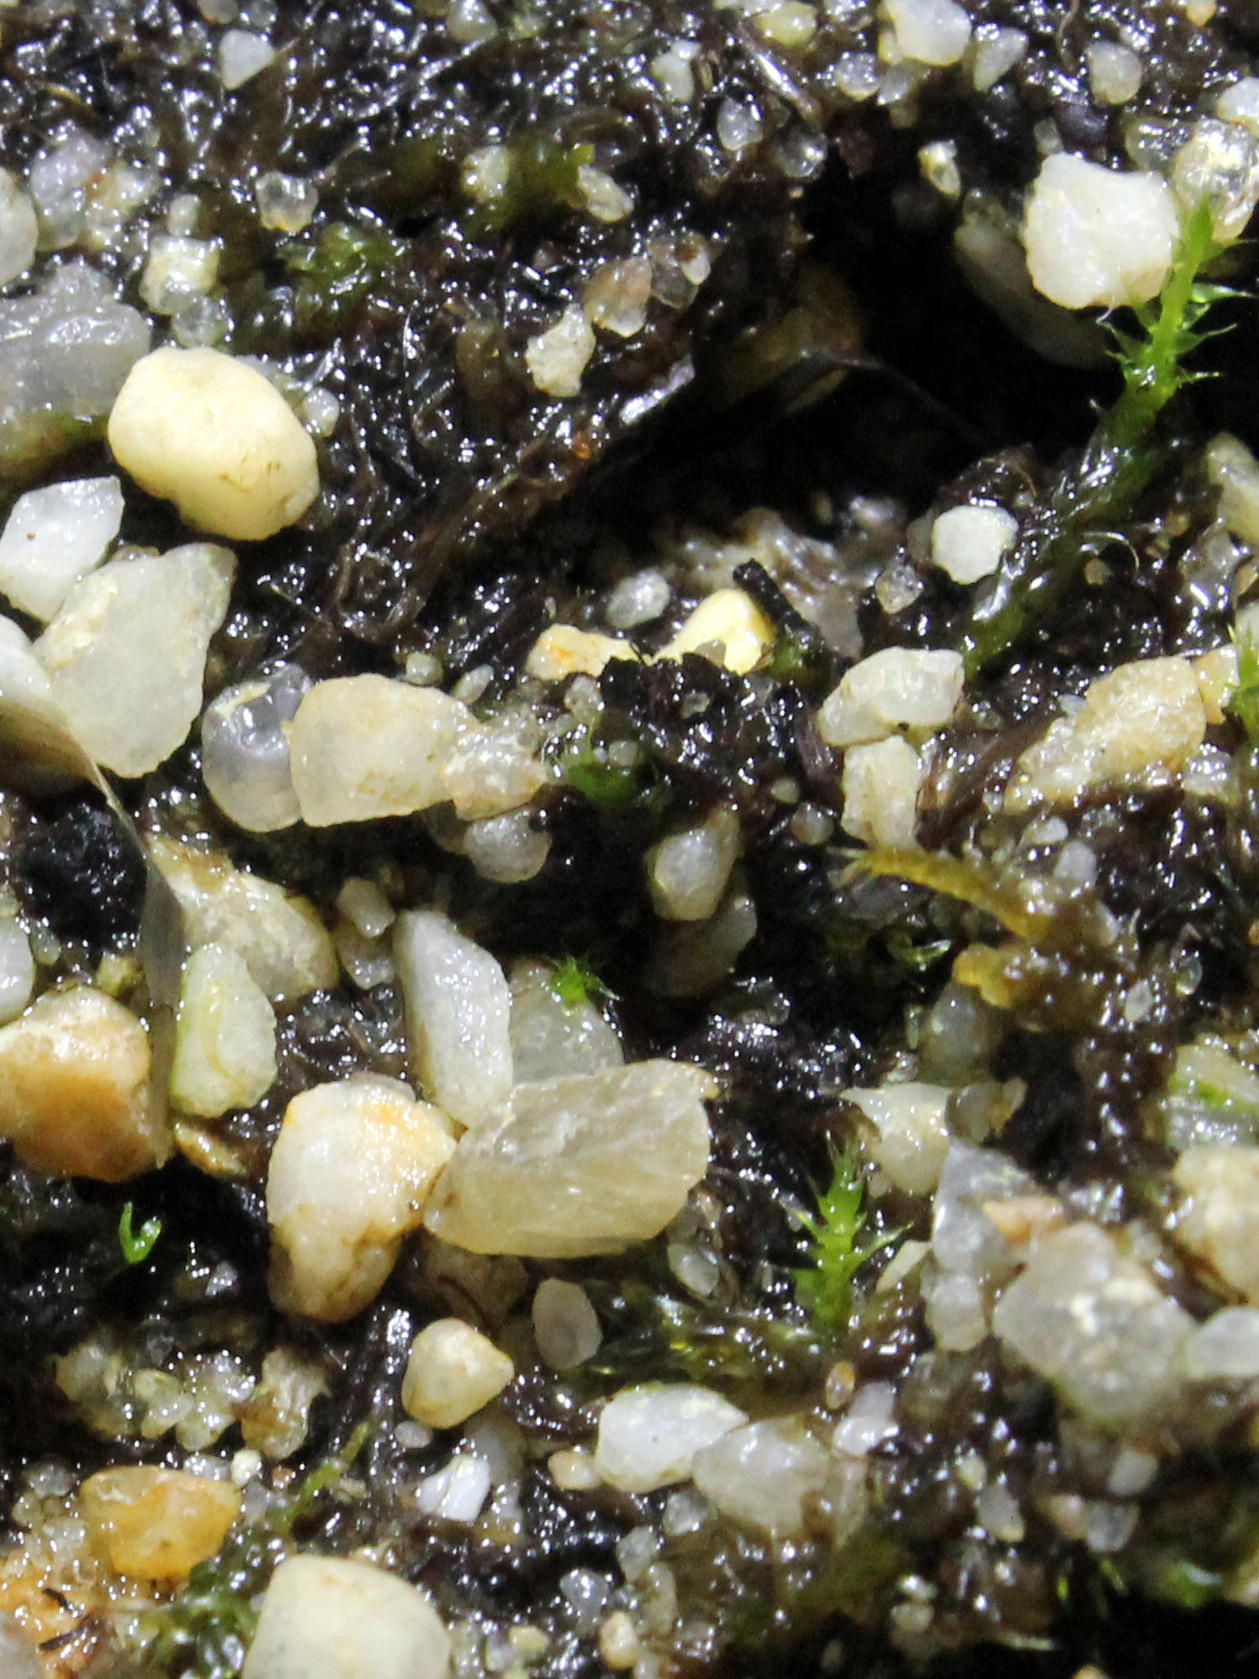
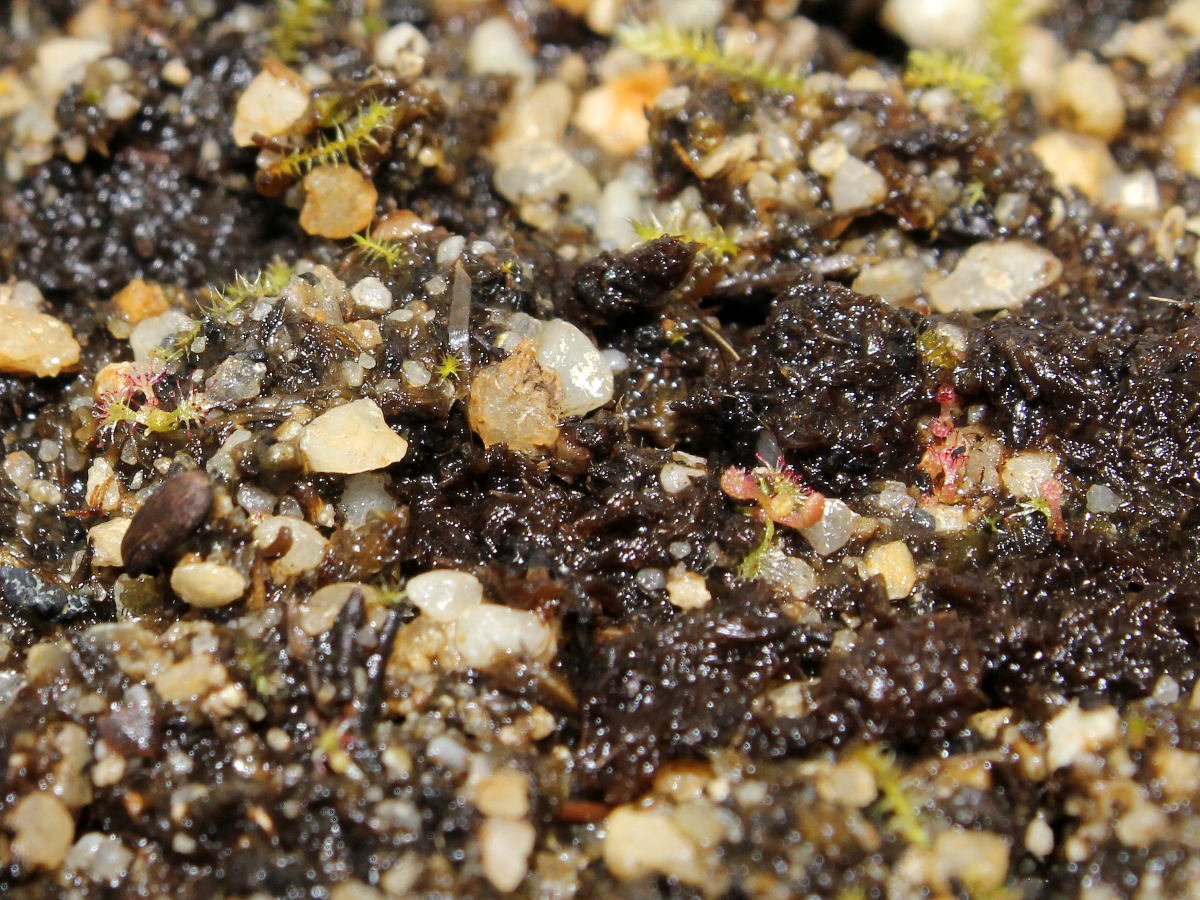
I used peat and living sphagnum moss, combined with SiO2 based sand. I was in a hurry, so I skipped flushing the soil mix with distilled water. Chopped living sphagnum particles were evenly distributed throughout the mix and I was hoping sphagnum moss would start growing on top of the soil.

Drosera capensis started germinating after 10 days

Seeds that germinated were hard to notice because of the moss
First germination occurred around two weeks later. I was getting worried, because moss already started showing growth, ant it started sprouting all over the pot. I expected that I won’t be able to see the emerging seedlings as they start appearing. After 10 days I did see something green and after closer examination, it became clear that it in fact was small Drosera seedling. Drosera capensis seeds are incredibly small, so you need a camera or magnifying glass to see small seedlings. Since I haven’t wash the soil mix with distilled water before sowing, I later decided to try sowing into agar medium. Some of the seedlings disappeared during germination and whole top soil appeared to be slightly moving because of living moss which I added to peat/sand mix. Adding living moss ended as bad idea which I don’t intend to repeat.


Tiny seedling with first pair of  non-carnivorous (cotyledons) leaves.
Tiny seedling with first pair of non-carnivorous (cotyledons) leaves.

First carnivorous leaf emerged roughly a week after germination
Despite a lot of effort to try and get as sharp photo of tiny seedlings as possible, pictures still look blurry. To snap tiny Drosera seedlings, you need macro lenses and tripod and I don’t have either. Interestingly, seedlings grow at different rates of growth. One of the seedlings that was the largest at first and received equal or even higher amount of light than other seedlings started to lag behind. It did start growing it’s second leaf earlier, but the first true leaf was smaller and it wasn’t carnivorous. When first seedling already started catching insects, with its one carnivorous leaf, whole bunch of new seedlings started to emerge.
 

It caught it's first prey the same day when first dew appeared
It caught it’s first prey the same day when first dew appeared
First Drosera dinner
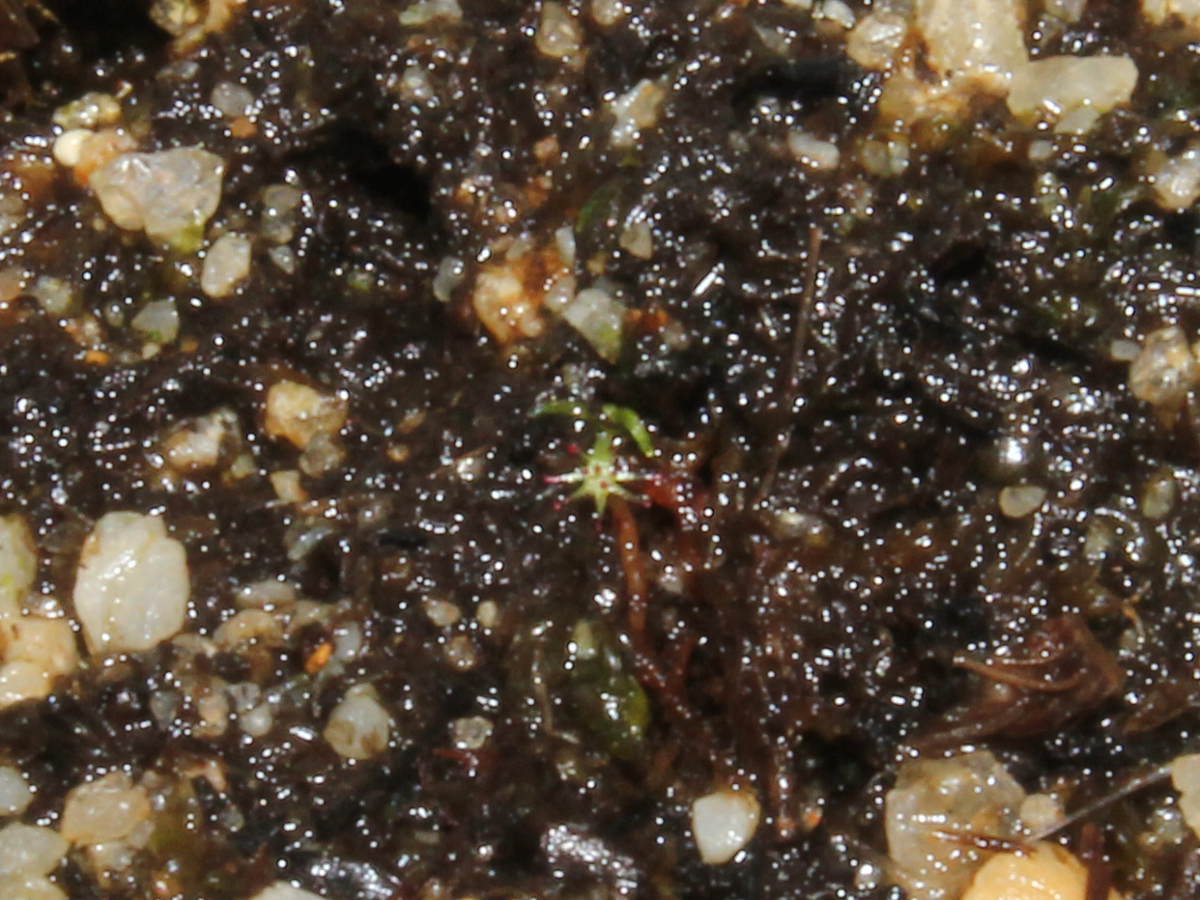
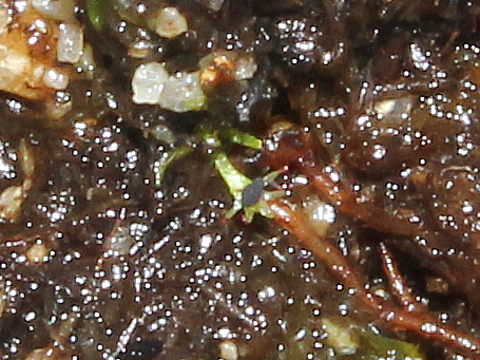
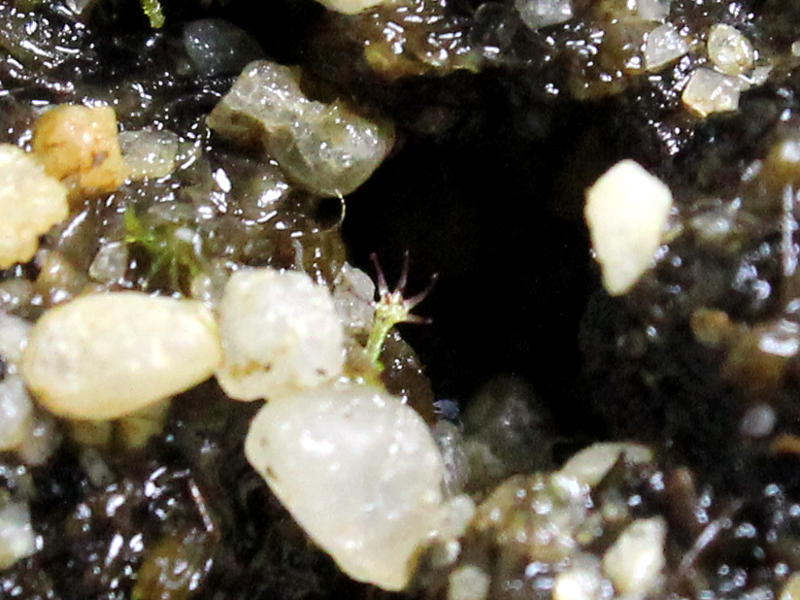
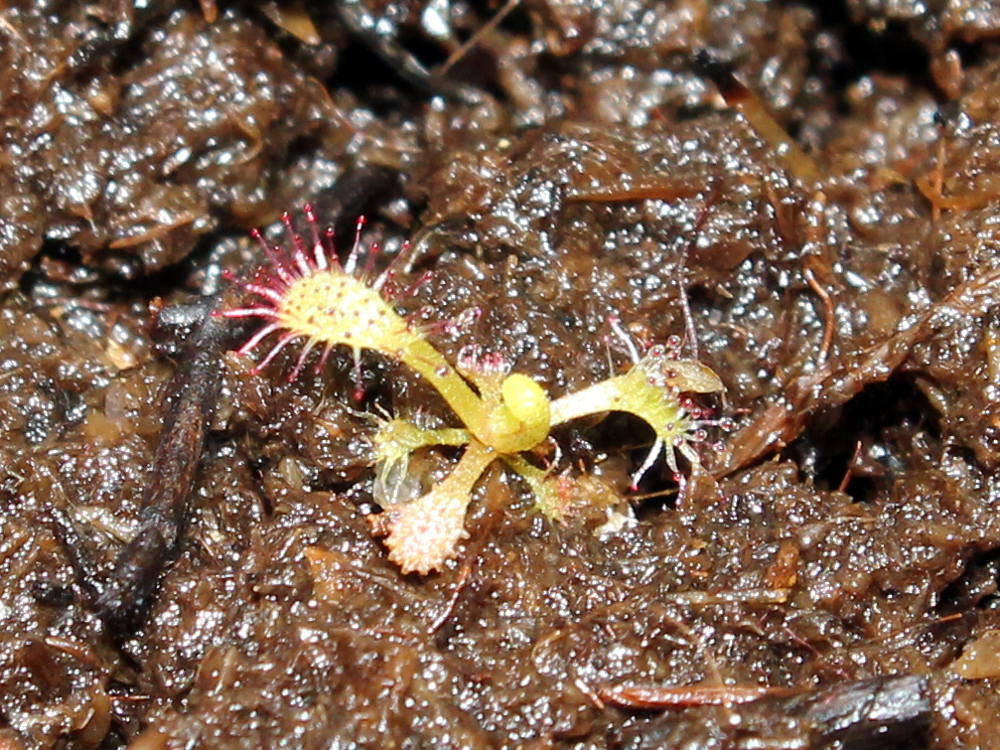
Just a couple of hours after I first noticed carnivorous leaf started showing dew on it’s tentacles, I noticed black spot covering it’s leaf. I was thinking about feeding it, but as it’s leaves were still far too small, it would be mission impossible. At first I thought it might be covered with small part of soil particles, or part of the seed coat. I decided to re-check it and try to get sharp photo of the leaf, so I spent a couple of minutes watching the seedling through the camera’s lens. Not only I saw that in fact it caught it’s first insect, I also noticed there was another one wandering around the seedling as well. They looked like black tiny beetles. The one that was still alive was a little bit larger and very fast for such small insect. I used living moss to prepare the soil mix, which quite possibly hosted a lot of living organisms. Interestingly, Drosera capensis seedling managed to attract those beetles extremely fast.
When fed, its tentacles start producing more mucilage

Second carnivorous leaf
Few days after first meal, it became clear that seedling which managed to capture an insect, started to grow faster and increased it’s mucilage production. I decided to feed it again, together with the second largest seedling. I found thrips (Thrips tabaci) on an onion and used a couple of nymphs to feed the seedlings. I used toothpick to transfer the nymphs onto carnivorous leaves. Two seedlings failed to grab the nymph off the toothpick, other two seedlings had enough dew to glue it onto their first leaf. Half an hour after feeding, tentacles started producing more mucilage and slowly started digesting their meal.

Drosera's hand reaching out from a dark pit
Drosera’s hand reaching out from a dark pit
First of the seedlings that germinated and appeared to grow fast, started to decline a bit before first carnivorous leaf formed. Leaf top became pale and it needed much more time to finally grow two small tentacles. It was a bit stunted and I hoped it’s not an issue that would harm the seedlings. Despite feeding, one of first two plants started to look strangely similar to the stunted seedling, it almost completely stopped growing. Growing leaf started to turn orange and I was happy to see that there were tentacles forming, but the formation was much slower than with it’s first leaf that appeared green. It also happened that the leaf on which the nymph was, got damaged one night. The nymph disappeared completely and there were like less than half tentacles left. One week after the feeding, the largest seedling also started growing orange leaf, but this time only “cap” was orange and it seemed to grow at normal speed. Apparently, when seeds germinate, they grow faster and are prone to coloration caused by intense light. Same thing happens after feeding, when plant starts to grow faster. When at one point plant get stressed by intense light, its growth slows down and it starts to adapt.

Whole bunch of black bugs got caught at the same time.
At one point two largest seedlings caught  a lot of black bugs at the same time. What caused it?
At one point two largest seedlings caught a lot of black bugs at the same time. What caused it?

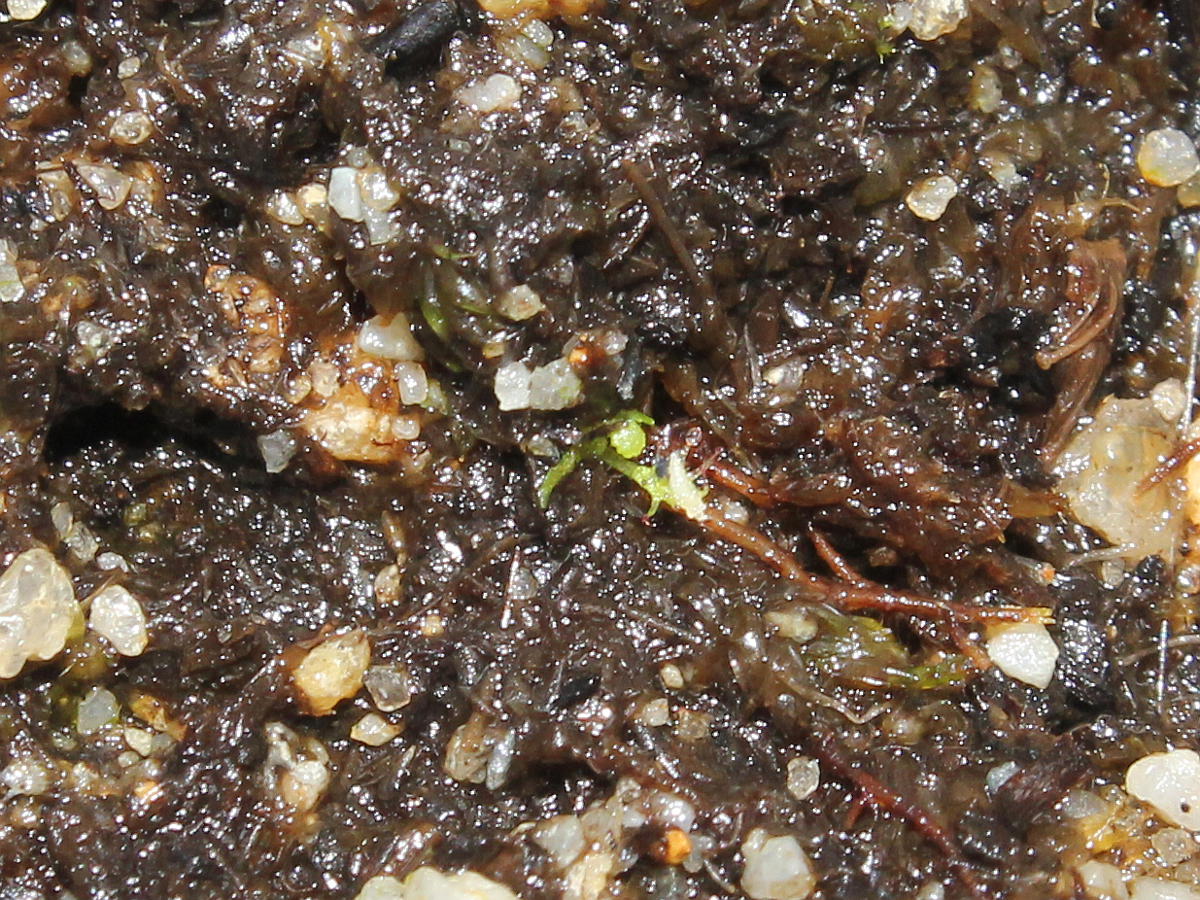
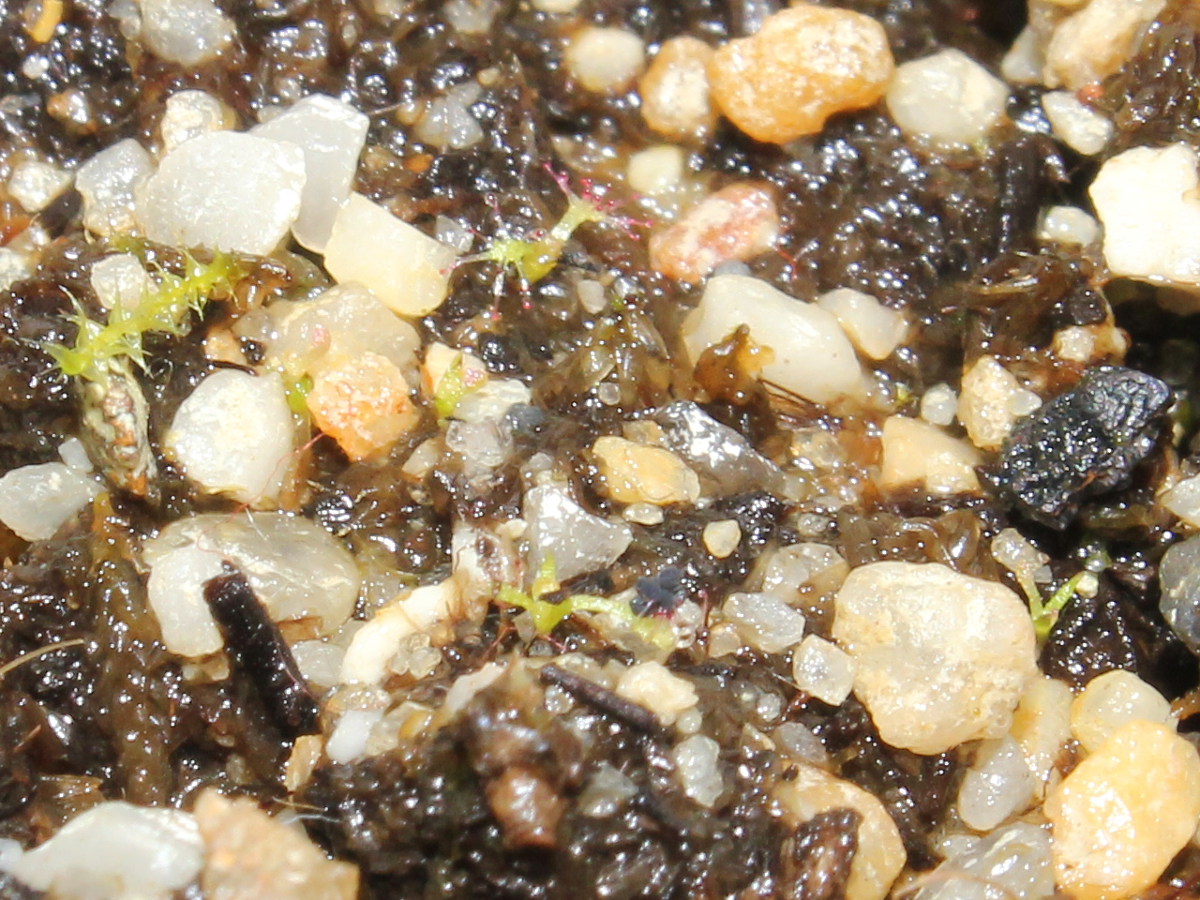
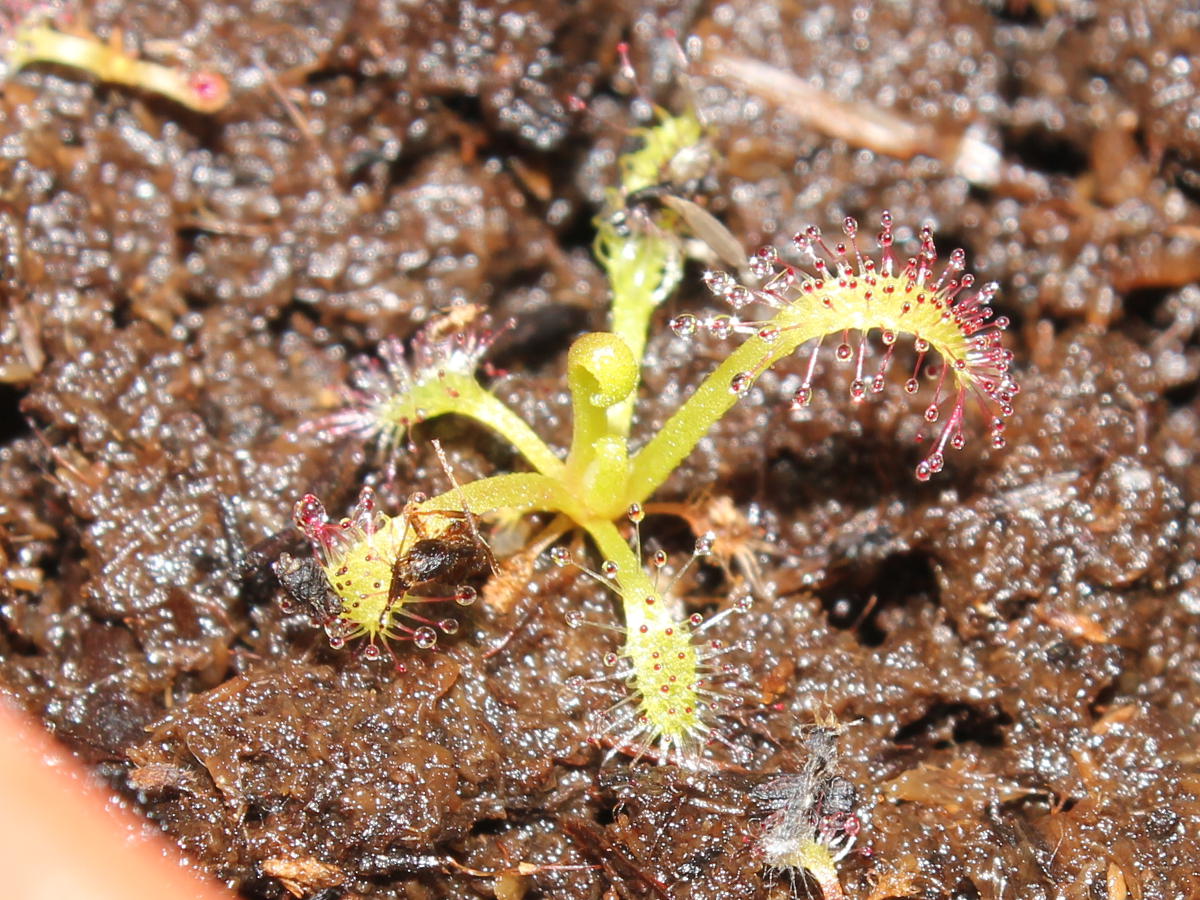
At one point when nymph got digested completely the same seedling somehow attracted whole mass of tiny black bugs onto it’s second carnivorous trap. The same day I’ve notice another seedling with trap that also got lucky. Strange thing is, there were also other traps on smaller seedlings all around the pot, but they were the only ones that managed to capture anything and they both caught a lot. It’s certain, that the pot is full of these tiny black creatures crawling around and that they often end up being caught by seedlings. Perhaps other traps lacked dew or were simply not sticky enough to capture anything. I realized that using living moss wasn’t so bad idea after all. I inoculated the pot with abundance of living plant food. If they also ate mold and partly digested insect carcasses, small ecosystem was perfect.

Unimaginable luck or are these bugs gathering for some reason? I'd say luck is ruled out, it's just way too much. :)
Unimaginable luck or are these bugs gathering for some reason? I’d say luck is ruled out, it’s just way too much. 🙂

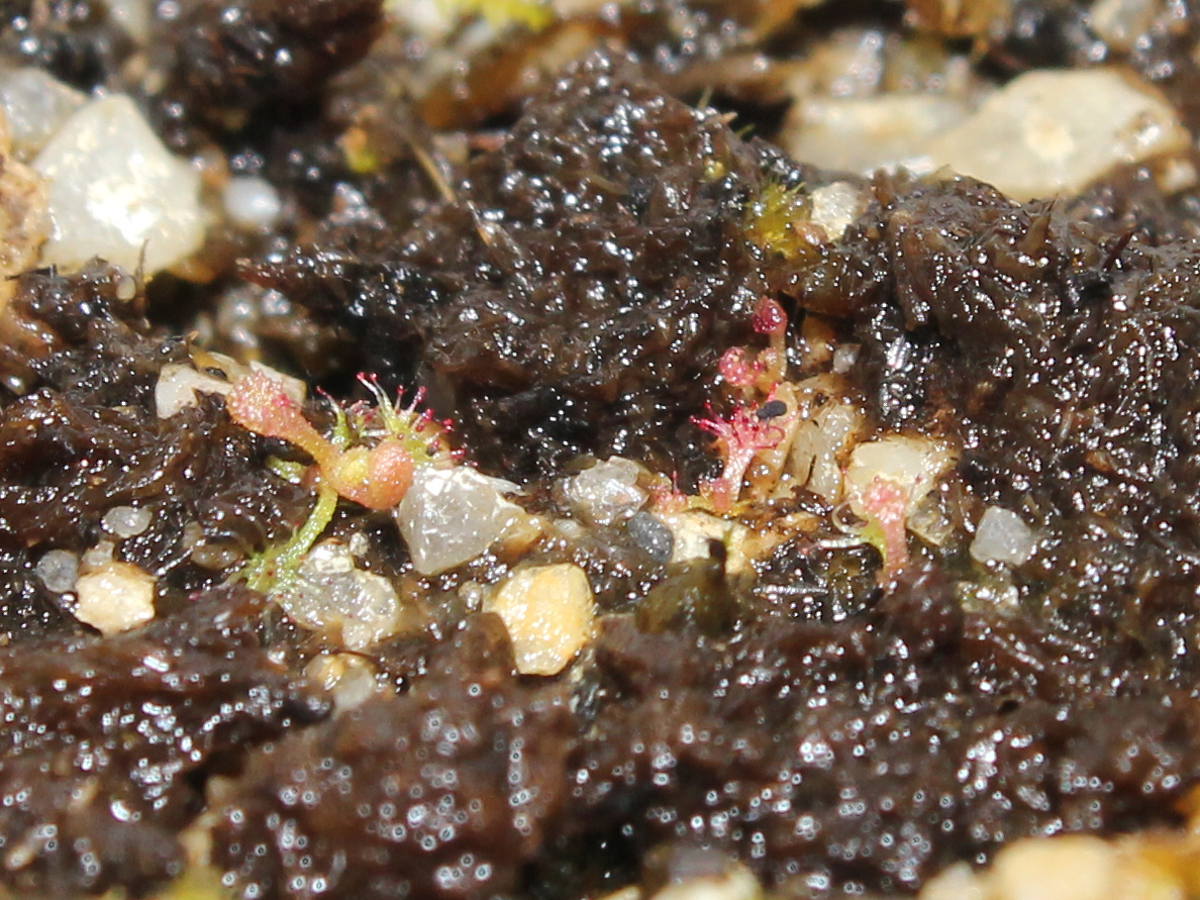
One morning, I noticed there was whole pile of bugs on one tiny trap. That completely ruled out my thoughts that these bugs randomly roam around the pot and get caught when going over drosera’s traps. Well, actually, that is most likely true, but they tend to gather around their dead or captured siblings. Perhaps they were mating and the first one attracted whole group that also got caught. Another option that I can think of is, that they are carnivores and they eat dead insects. I lean forward to the ‘mating’ answer, because there were just too many in the same trap and I don’t think they can sense food that well. If I’d known what these black insects were I could do some research.

Another globular springtail bites the dust
After a lot of research, I found out that springtails act exactly like these tiny black creatures. Females use pheromones to attract males, which explains why there are piles of bugs caught at the same time in the same trap when female gets caught and why there’s only one springtail caught when male gets trapped. I searched for various springtails and tried to identify the creatures. It became apparent that they are Globular Springtails. I don’t have equipment to close up and view more detailed photo of springtail, so I had to use my digital camera and close up as much as possible to get the best idea about its shape. My guess after internet research i did is, that these black springtails are in fact Sminthurinus niger globular springtails. They usually don’t do any damage to plats and feed on fungus, which can be beneficial in moist environment I grew carnivore plants in.

1 month old seedlings under strong LED lights

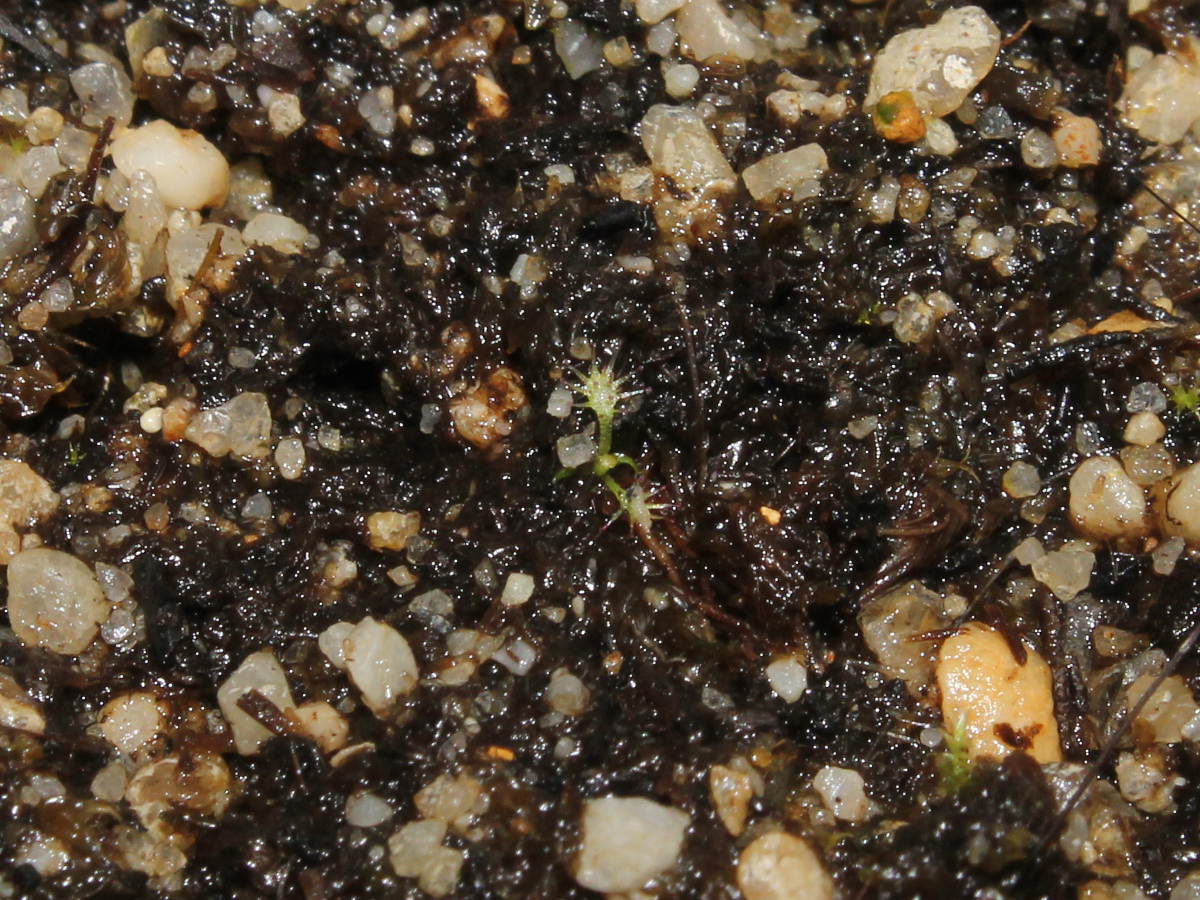
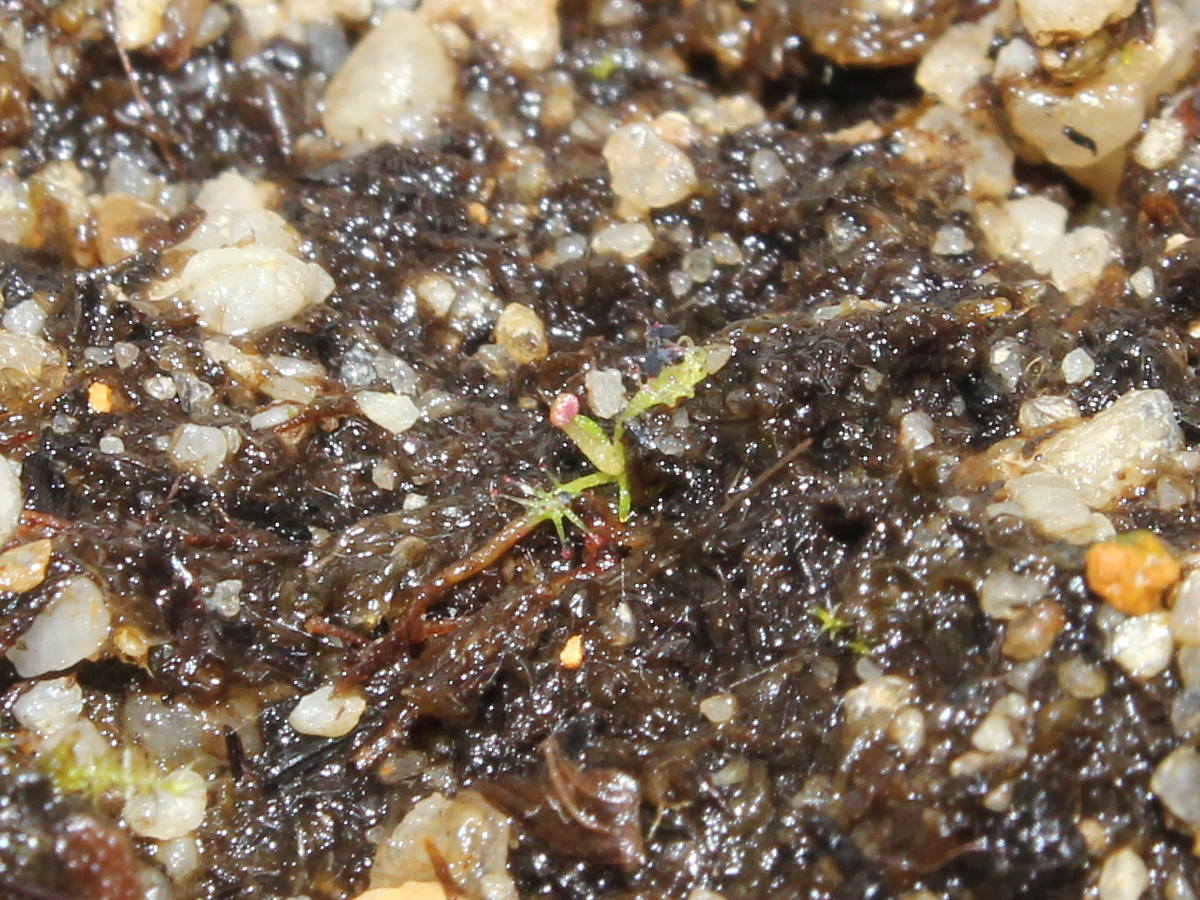
One month after germination, seedlings looked more and more sickly, some of them lost dew and it became evident that with time all the seedlings started to show signs of stress. New leaves did not grow completely and some of the leaves even turn light brown and died. I figured out that light level plays no role in their decline, the real reason was the soil. Seeds that were planted in pure peat were all growing into healthy green seedlings with a lot of dew. At that point, I decided to transplant all remaining seedlings into another pot. A couple of seedlings were already too damaged to survive the transplant, but many had shown some improvement. I covered the pot again to increase humidity and to make sure the dew appeared again. The largest seedling started to decline before it got transplanted and it’s two leaves that were already growing for some time failed to grow tentacles. They were stunted and damaged, but in the middle of the seedling new leaves started turning from pink to green in just a couple of days.

Drosera swiftly recovered. Dew appeared again and new leaves had fully developed working tentacles.
Two months old seedling. This one really took off. Other seedlings are also growing but at much, much slower pace.
When Drosera capensis start growing large enough leaves, it gets easier to feed. Small ants and flies are its natural diet. A week after feeding, growth always speeds up. Sadly other seedlings don't show the same kind of vigor.
When Drosera capensis start growing large enough leaves, it gets easier to feed. Small ants and flies are its natural diet. A week after feeding, growth always speeds up. Sadly other seedlings don’t show the same kind of vigor.
Drosera capensis flower. Flowers only last a few hours, but when they start, they set new flowers for quite some time.
One of the leaves with it's prey.
One of the leaves with it’s prey.
Flower stalk uprising


That's how it looks 8 months after it germinated. Each seedling is starting it's second flower stalk.
That’s how it looks 8 months after it germinated. Each seedling is starting it’s second flower stalk.

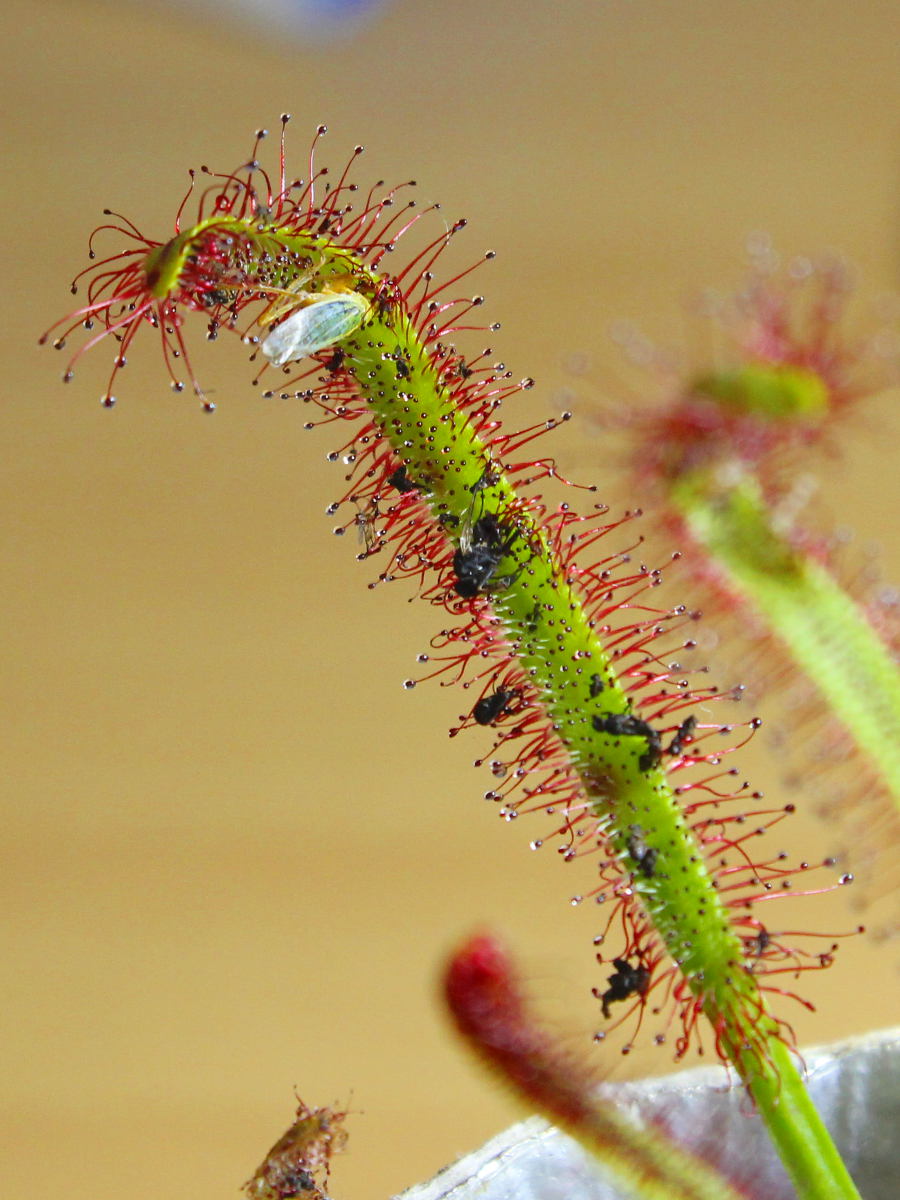
I’ve been somewhat worried about huge amount of sunlight they received during the summer and because of heat that exceeded 35°C for quite a while. I noticed they not only survive in those conditions, but actually love it. They loved occasional flooding in the hottest weather and also didn’t mind when peat got a bit drier. I’ve learnt that Drosera capensis is quite tough and the only thing it did harm it (a bit), was rain. They don’t seem to like getting wet.


What do you think of this post?
  • Awesome (14)
  • Interesting (4)
  • Useful (2)
  • Boring (0)
  • Sucks (0)
Blueberry seeds

Blueberry seeds

February 4, 2015 tarzan Comments 15 comments

During early summer, I’ve taken several ripe Vaccinium corymbosum blueberries and kept them frozen for 6 months. During that time, they should become stratified enough to complete their dormancy. Without stratification period in the freezer, seeds would not become viable and would fail to germinate.

Washed and dried blueberry seeds
When blueberries thawed, I placed them into strainer and broke them into small pieces with my fingers. At the same time I was pouring cold tap water through the strainer, to clean the seeds and take out larger pieces of fruit without the seeds. I placed the seeds into paper towel and placed it on a drafty windowsill to dry. When dried, I started preparing peat moss for them to start germinating. The seeds are small, so I decided to use blender and shred the larger particles into small pieces.
 

vaccinium_corymbosum-seedsBlueberries need a lot of light, moisture and slightly acidic soil. They can germinate slowly, so I had to make sure to prevent mold from destroying the young seedlings. I used microwave and sterilized peat moss, before I planted the seeds. I also tried fermenting several seeds for 2 days and started germinating them in wet paper towel.

Young blueberry seedlings
One month after I started, I’ve already had mold issues in both, peat and paper towel. After that I placed peat out of it’s originally planned sealed plastic bag, so It could dry out a bit. It dried out… a lot. I then noticed peat is way too compacted, so I used a toothpick to make it at least a bit softer and aerated. After a month, there were no signs of germination and after all the issues, I almost gave up. Before throwing everything into compost bin, I finally saw one tiny seedling starting to break free. After only a couple of days, more seedlings appeared and at the same time, I noticed that seeds in the paper towel also started sprouting. Despite the fact that seeds were fresh and stratified, they took more than a month to finally start germinating.


One month old seedlings.

One month after seedlings first appeared, I decided to give them more light. They immediately started growing faster and started changing color to darker green, with more red coloring in new leaves. I used very small containers so they needed watering every two days in intense light. Before, when I placed them into completely shaded location, they only needed watering every couple of weeks.

Placing the seeds into small germinating trays soon became an issue. As seedlings started to grow, they were more and more susceptible to drought. I placed some into well fertilized peat and they died instantly, as I expected they would. Remaining seedlings were placed in clumps into pure peat on May 2nd when sun isn’t strong enough to kill them, but can fasten up their growth.

What do you think of this post?
  • Awesome (33)
  • Interesting (13)
  • Useful (8)
  • Sucks (4)
  • Boring (0)
Moso and yellow leaves

Moso and yellow leaves

January 17, 2015 tarzan Comments 1 comment

Recently, someone asked me for advice about his yellowing Moso seedlings. I remember banging my head into the wall, trying to realize what was wrong with my Moso seedlings, when I was desperately trying to grow them from seed. At that point I have had no idea about the cause of yellowing and I was doing way too much (all the wrong things :)) to save them. In the end, all the pampering, fertilization, foliar sprays, excessive watering, moving them around from shade to half shade, full sun and back again, didn’t help them. Most of the seedlings from that time died a terrible death, except for one, which is growing vigorously.

Sickly yellow leaves on waterlogged Moso
Most possible causes of leaf yellowing are:

  • waterlogged soil
  • too much sun
  • soil heats up too much during the day
  • nutrient deficiency

Moso is terrible when grown in containers. Even if it’s already well established in it’s pot, it can get dry quickly, but it will immediately suffer if watered too much so it starts becoming water logged, roots will start rotting, water consumption will become minimal, soil will remain wet and it will start to die. Rather keep it on a dry side, at least partly shaded and protected from strong winds.

Stunted growth
Stunted leaf formation
Sun exposure can be tricky for Moso seedling as well as watering, but it’s a lot less problematic – seedling can suffer, but should not die because of it. When exposed to full strength sun, it often folds it’s leaves to preserve water. If you water it, you can kill it, if you spray it’s leaves only, it will unfold, but only for the time leaves remains wet. Usually that kind of exposure doesn’t damage the seedling, BUT it will start getting paler green and will look a bit chlorotic with some visual defects on the leaves, it can loose some branches, some of the shoots can get damaged as well. In complete shade, it will grow slowly but should remain dark green and healthy. Best thing to do is to find partly shaded position for it to thrive. When established enough, its tolerance can improve.

In late fall or early summer when temperatures are low enough to allow sunbathing, dark pots can get extremely hot. In overheated soil, roots and rhizomes get damaged, start rotting and seedling starts to decline. Pots have to be protected from sun exposure, so the soil temperature remains constant and low enough. The best option is to bury the pots.

Why I struck through nutrient deficiency? At least for me, it was never deficiency. It can be though!
Yellowing usually occur when there’s nitrogen deficiency. In case of N deficiency, new leaves remain dark green, but older foliage starts to turn yellow. Seedling transfers all the nutrients from old leaves into new ones. Iron deficiency makes the leaves turn yellow, but the veins remain green. It starts showing in new leaves first, in severe cases older leaves also get affected.
Sulfur deficiency hits the whole plant at the same time, which means new and old leaves turn yellow at the same time. Leaf veins get yellow as well.
Magnesium deficient plants start yellowing in the older leaves, then yellowing spreads to newer leaves if deficiency is severe.

… but usually it’s not deficiency at all.

To improve my seedling’s chances I now prepare my soil mix myself. I use garden soil, 2 years old compost (kitchen scraps, grass clippings, wood chips,…), peat moss, partly decomposed wood chips and some sand or gypsum. Soil holds water well enough, there are many air pockets inside and a it offers a lot of nutrients.

Most common mistakes:

  • using cheap pure peat moss ‘soil’
  • up-potting into large container
  • mindless watering and fertilization

The main cause of waterlogging is usually inappropriate soil mix. If there’s too much organic material in the soil, it can hold and lock-in a lot of water. Peat moss, and coconut fiber based soil mix can hold water like a sponge, which leads to yellowing and death of young Moso seedlings.

In a small pot, there will be a lot of roots that will make the soil more porous allowing excess water to drain out of the pot. If there are many roots and established plant above the soil level, water consumption will be high enough to use the water before it becomes an issue. When transplanting the seedling into large (too large) pot, soil can get too wet, preventing seedling’s roots to conquer newly acquired space.

Healthy, dark green Moso seedling

Sometimes when soil is already saturated with water, leaves will start showing the same signs of stress as if the soil would be dry. Wilted leaves don’t necessarily mean that seedling needs more water, if soil looks moist, do not water. If leaves start to turn yellow and you suspect nutrient deficiency, only use mild concentration of fertilizer with the next watering. If issue doesn’t go away after a week or two, it most likely isn’t nutrient deficiency related.

What do you think of this post?
  • Interesting (7)
  • Awesome (3)
  • Useful (3)
  • Boring (0)
  • Sucks (0)
Freeze damage

Freeze damage

December 13, 2014 tarzan Comments 2 comments
Hard frost on Borinda fungosa (-5°C)

My plan was, to closely monitor weather data and try to spot emergence of cold induced damage on different (more or less) cold hardy bamboos. With gathered data, I’ll be able to determine cold hardiness of each individual bamboo, and detect possible ‘top kill’ conditions or (I sure hope not) conditions where bamboo completely dies. Bamboos are placed in different locations and can have their own micro-climate, but conditions are nearly identical. Small Chimonocalamus pallens seedling is planted under quite large Fargesia murielae, so it’s a bit more protected, but also much more tender because of it’s youth and extremely small size. Actually I will not be able to determine proper values for Chimonocalamus seedling, I will, however, be able to check its hardiness in it’s young seedling stage.

Chimonocalamus pallens - the first bamboo that had shown leaf damage.
Chimonocalamus pallens – the first bamboo that had shown leaf damage.

I will closely monitor temperatures and try to write down absolute low temperature (usually morning) and highest temperature. I will add wind conditions information, soil freeze / thaw conditions, information about snow cover accumulation, exposure to full sun, fog, rain, freezing rain… While closely checking weather conditions, I’ll also keep my eyes on all the plants, trying to notice any sign of stress or damage. When weather conditions won’t allow me to identify damage, for example in prolonged period of time with temperatures below freezing or rainy weather that will temporarily re-hydrate damaged leaves, making them look alive, I’ll try to determine the cause and extent of damage when it becomes evident.
I’ll keep all my recordings for further analysis and in try to create easily readable table or chart. Non-threatening days (with temperature above freezing) will be excluded, but will be mentioned as annotation in case of possible impact on plant’s condition later on when freeze damage occurs.

First freeze damage victims: Chimonocalamus pallens and Borinda fungosa seedlings

When temperature dropped and freeze the soil enough (-5°C/+2°C), Chimonocalamus pallens was the first of bamboos that started to show signs of leaf damage. Damage most likely started because of frozen soil and direct sun exposure. Leaves were exposed to full sun and roots were mostly shaded by F. murielae. With day temperature just above freezing, without wind and fully shaded, 1 cm of soil remained frozen. That was enough to damage the leaf cells. Leaves ended up slightly damaged and some of the youngest branches dried out during the first cold spell.
At the same time, the last shoots of Borinda fungosa also started showing some damage. The unbranched shoot is missing the top leaves, but culm still seems to be alive. Spring will tell if branches or buds got damaged. Autumn shoots that branched out recently had shown some damage and had lost a couple of fresh branches, but at least some of them might still be alive. Full extent of damage will also be visible in the spring.

DATA

Bamboo Name
Phyllostachys aureosulcata ‘Spectabilis’
Phyllostachys pubescens ‘Moso’ (3 year old seedling)
Phyllostachys aurea
Borinda (Fargesia) Fungosa (3 year old seedling)
Fargesia denudata ‘Lancaster 1’
Fargesia Murielae
Hibanobambusa tranquillans ‘Shiroshima’
Pseudosasa japonica ‘Tsutsumiana’
Chimonocalamus pallens (1 year old seedling)

Second cold wave.

Most of the leaves remained alive.
Just after Christmas, we’ve received another wave of cold air that persisted longer and temperatures dipped much lower. Luckily we’ve received around 20 cm of snow in the beginning when temperatures started plunging. I used that snow cover to tarp down and bury Borinda fungosa which is not hardy enough to survive during harsh winter conditions. Most of the time it was sunny weather with moderate to strong wind. Moso leaves that were not protected by snow started to show signs of freeze damage when temperature dropped to -13°C. When temperature dropped to -15°C, first signs of damage appeared on Hibanobambusa tranquillans ‘Shiroshima’, exposed branches of Phyllostachys pubescens ‘Moso’ seedling got completely fried, Borinda was already tarped and covered with snow to prevent cold air from entering the space between tarp and the ground. Temperatures remained below freezing, but sun managed to melt the snow on south facing positions which caused quite some damage on bamboos that got exposed that way.
New shoots were damaged quite a bit.
Phyllostachys pubescens ‘Moso’ got completely defoliated (perhaps even top-killed) on it’s southern side. Snow cover remained on it’s north facing side, which kept all the leaves and had shown only minor signs of any kind of damage. On January 3rd, snow started melting and temperatures started to rise. When daily highs were above freezing, there was no additional damage on any of bamboos. At the end of the cold wave, southern wind brought warm weather and I untarped B. fungosa to see it’s condition. It was looking surprisingly good. While exposed parts of culms got completely killed, everything that was tarped remained in relatively good condition. Old culms and shoots from late spring/early summer received only up to 30% leaf damage, shoots from early autumn, on the other hand, got up to 90% damaged despite protection.

Result of second cold wave

Half bald Phyllostachys pubescens. Exposed southern side got fried, while snow cover on the other side protected it from severe cold

  • Chimonocalamus pallens (1 year old seedling) got devastated. Despite being covered with snow and branches of F. murielae, it got completely fried, dried, broken and dead. I still hope rhizomes remained alive so it can ressurect in the spring.
  • Phyllostachys pubescens ‘Moso’ was also seriously hit. It was covered in snow, but sun managed to expose it’s southern side. Southern side is completely fried, northern side almost undamaged.
  • Borinda fungosa lost from 20% (mature shoots from spring and last year’s growth) to 90% (youngest shoots) of leaves. It was tarped and bent almost to the ground, which proved to be sufficient protection. All the older shoots survived, late summer/early fall shoots seem to be damaged, but damage can’t be determined before spring. Some of the nodes might still be alive. Tarped and snow covered leaves were only slightly damaged, some started to turn yellow like those in the fall, those that are dead started to dry, most of surviving leaves are green.
  • Hibanobambusa tranquillans ‘Shiroshima’ had shown quite a lot of damage, but it seems it’s holding well. Snow covered leaves were undamaged, exposed leaves are severely damaged but still show signs of life. Several older culms that were too rigid to get any snow protection seem to be dead.
    Phyllostachys aurea is holding well, much better than in 2012 when it got top killed. It does show some frost damage, but most of the culms took the cold surprisingly well. Even some of exposed leaves managed to recover, despite being totally dried out and wilted during the cold sunny weather.
  • Pseudosasa japonica ‘Tsutsumiana’ got only slightly damaged. Some of the leaves were exposed to cold and were damaged, but they are still alive. It does have several tops fried. They are also water-logged most of the time and they never lost supply of water.
  • Fargesia denudata ‘Lancaster 1’ is showing some damage as well. It got attacked by voles once again, so it might be vole issue, not the cold alone. I really need to do something about voles.
  • Fargesia murielae is almost undamaged. It got flattened by the snow, with only middle of the clump partly exposed. When snow melted and some of the branches experienced the cold, it didn’t do much damage to them.
  • Phyllostachys aureosulcata ‘Spectabilis’ was also almost flattedned despite it’s larger size. I shook it a bit to keep the snow off, so it was exposed to the cold and the sun. It had shown minor signs of damage on youngest shoots during the worst cold, but it recovered. Late autumn shoots that were just starting to branch out in late fall, might be damaged, but are still standing.
  • What do you think of this post?
    • Useful (2)
    • Interesting (1)
    • Awesome (0)
    • Boring (0)
    • Sucks (0)

    Posts navigation

    OLDER POSTS
    NEWER POSTS

    Recent Posts

    • Bamboo shooting date analysis – 2012-2024
    • Impatiens niamniamensis – Parrot impatiens pollination
    • Culm color of variegated Phyllostachys arcana seedlings
    • A Comprehensive Guide to Growing Rhododendron from Seeds
    • Cultivating Springtails for Terrarium Success

    Latest Post Images

    Post imagePost imagePost imagePost imagePost imagePost imagePost imagePost image

    Recent Comments

    • tarzan on Blueberry seeds
    • Graydon on Blueberry seeds
    • Tomas Dvořák on Bamboo Shooting Calendar
    • Tomas Dvořák on Bamboo Shooting Calendar
    • Tomas Dvořák on Phyllostachys arcana seedling’s culm coloration

    Categories

    Recent Posts

    • Bamboo shooting date analysis – 2012-2024
    • Impatiens niamniamensis – Parrot impatiens pollination
    • Culm color of variegated Phyllostachys arcana seedlings
    • A Comprehensive Guide to Growing Rhododendron from Seeds
    • Cultivating Springtails for Terrarium Success

    Recent Comments

    • tarzan on Blueberry seeds
    • Graydon on Blueberry seeds
    • Tomas Dvořák on Bamboo Shooting Calendar
    • Tomas Dvořák on Bamboo Shooting Calendar
    • Tomas Dvořák on Phyllostachys arcana seedling’s culm coloration

    Categories

    Archives

    Tag Cloud

    alba Aquatic plants arcana bamboo blueberries blueberry borinda cape capensis carnivore carnivores carnivorous clumper color culm cuttings damage drosera edulis fargesia featured feeding fungosa Germination leaf Luteosulcata moso overwintering phyllostachys plant propagation protection pubescens running seed Seedling seedlings seeds shoot shooting spring sundew variegated variegation winter
    © 2025   COLD-HARDY.COM