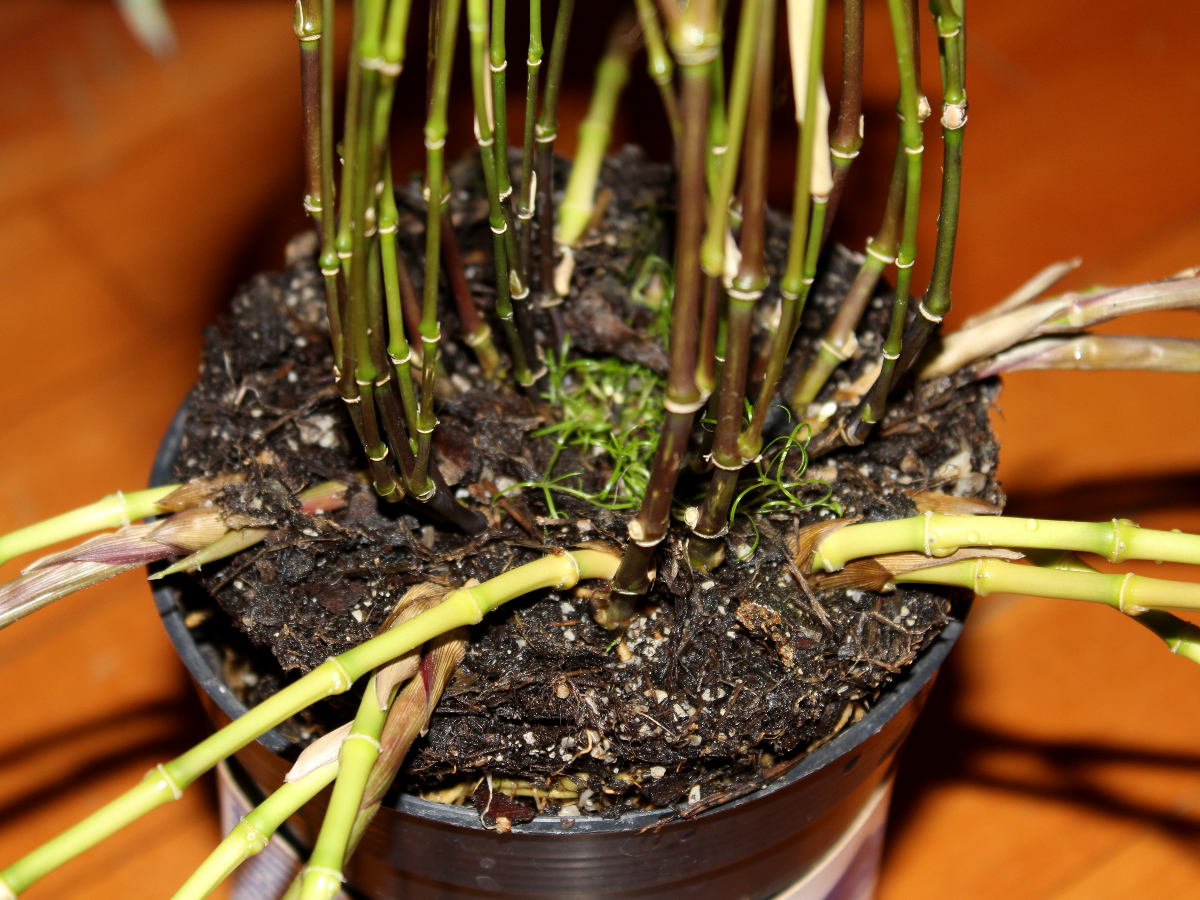
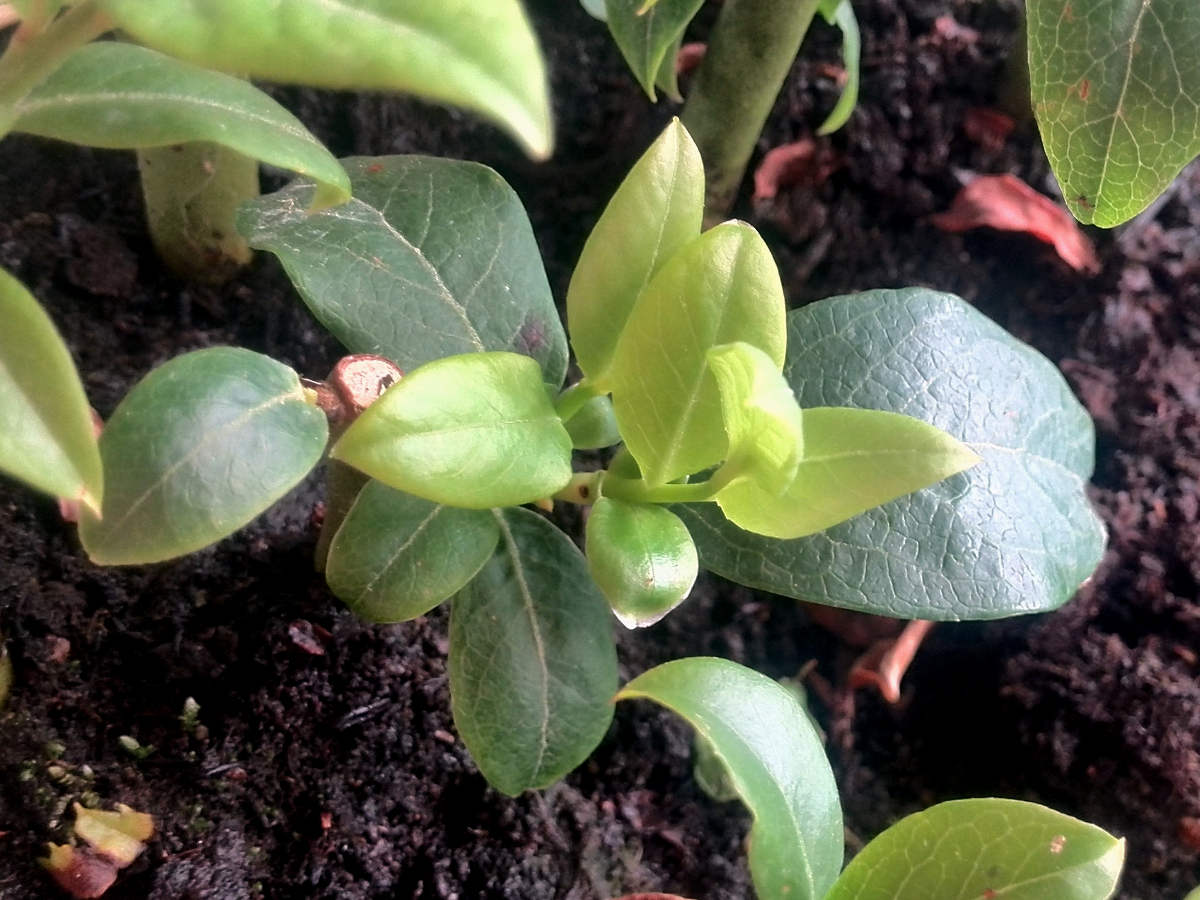
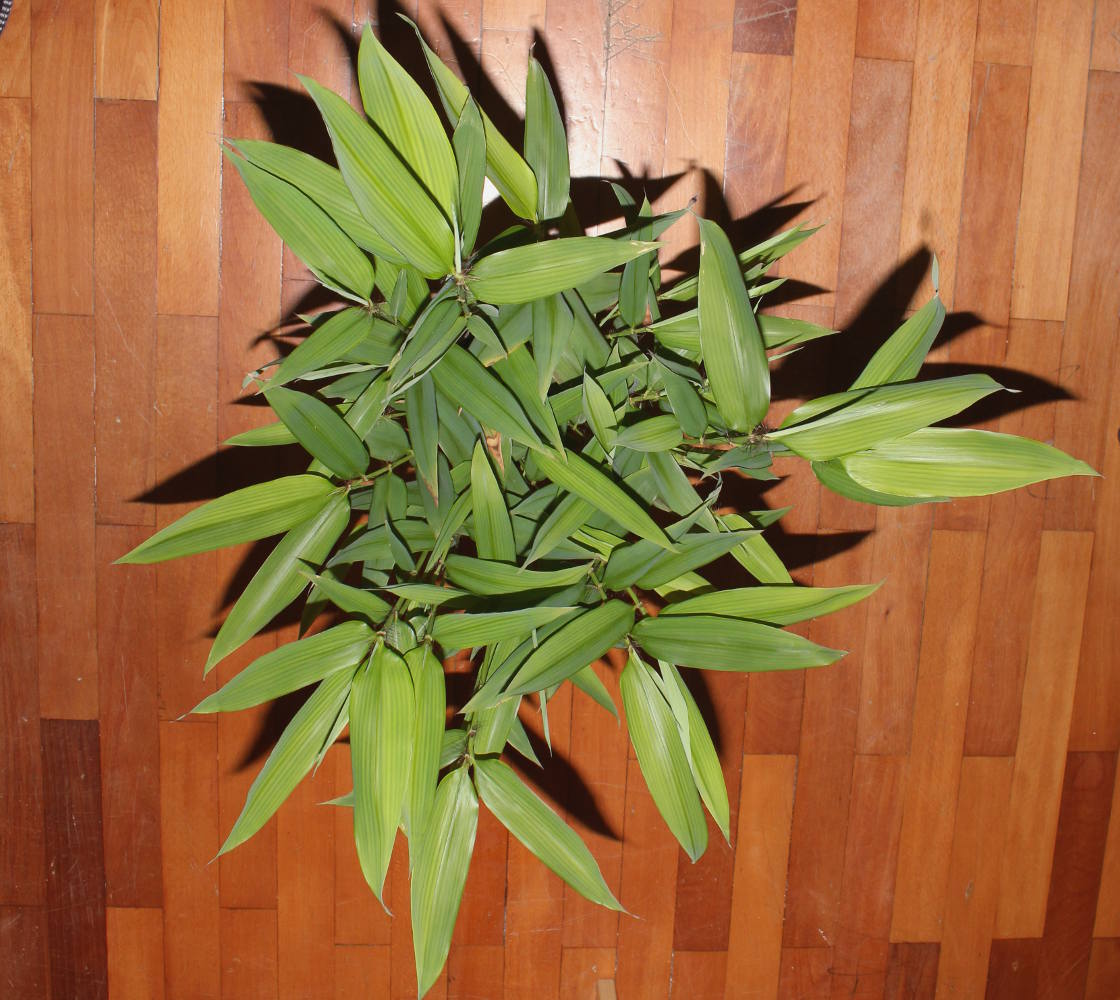
Phyllostachys arcana ‘Luteosulcata’ seedlings at 5 months
First couple of Phyllostachys arcana ‘Luteosulcata’ seedlings are now 5 months old. They grow fast and perhaps started showing some of their growth characteristics. Most of them are low and bushy, but two of them started to have much taller appearance with less branches and perhaps a bit longer internodes. Soil, fertilizing / watering cycle and light intensity are the same, which should eliminate possible environmental differences. The soil mix was made in the same bucket, but there could always be slight content difference.
All the seedlings have started showing signs of nutrient deficiency with yellow stripes on their newly grown leaves. I started introducing them to diluted liquid fertilizer which somewhat helped with the issue, but not entirely eliminated it. Water consumption of the fastest growing seedling is unbelievably high. I water them once daily and always leave some of the water in the bottom container, which allows roots to get the water from there as well. If I only skip one day, I get curled-up bamboo, with completely dried out substrate. I early lost two large seedlings, which are still recovering.

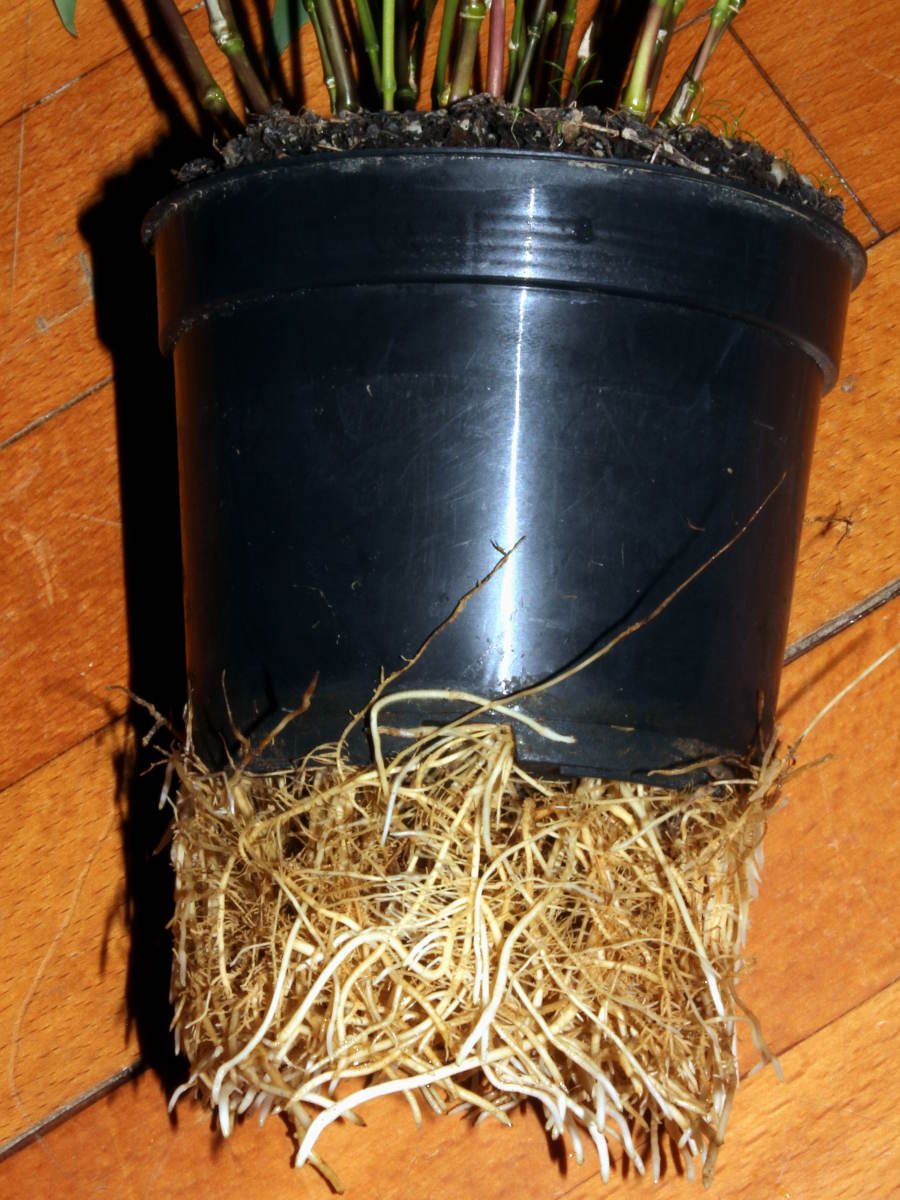
Currently, the largest seedling is also the tallest one. At one point this seedling started growing tall shoots with culm diameter comparable to other seedlings that were only half it’s height and enormous leaves (again – large for it’s size and age). Most of the seedlings are now 20 cm tall and the tallest one is over 40 cm. Largest leaves are up to 15 cm long with yellow striping that indicate nutrient deficiency, which is most likely caused by very fast growth in a rather small container.

The large seedling started pushing out 14 new shoots that are all eager to turn back into the soil. The shoots are growing into all directions and they certainly look like whip shoots to me. If rhizome growth actually started, it would explain the lifted soil that is getting pushed upwards almost daily. I will need to up-pot the seedlings before they get completely root bound. Heavy thirst drains water from the soil in about a day, which means any neglect would result in loosing the seedlings.

There are no signs of either leaf nor culm variegations on any of the Phyllostachys arcana ‘Luteosulcata’ seedlings from that batch, except for the highly variegated one, which is growing slowly and often shows signs of stress. Its first couple of leaves on young culms seem to be the palest, sometimes almost completely yellow, those leaves are extremely susceptible to drying of leaf tips. Issue might also be caused by unnaturally strong grow light and will disappear when I plant it outside. The second batch of seedlings seem to have given another two variegated seedlings, one has the same kind of variegation as the one mentioned above, but is at least 30% greener and should have faster and more healthy growth. The second one is even darker green and might be inverse version of those two yellowish seedlings – this one shows yellow variegation on green leaf.