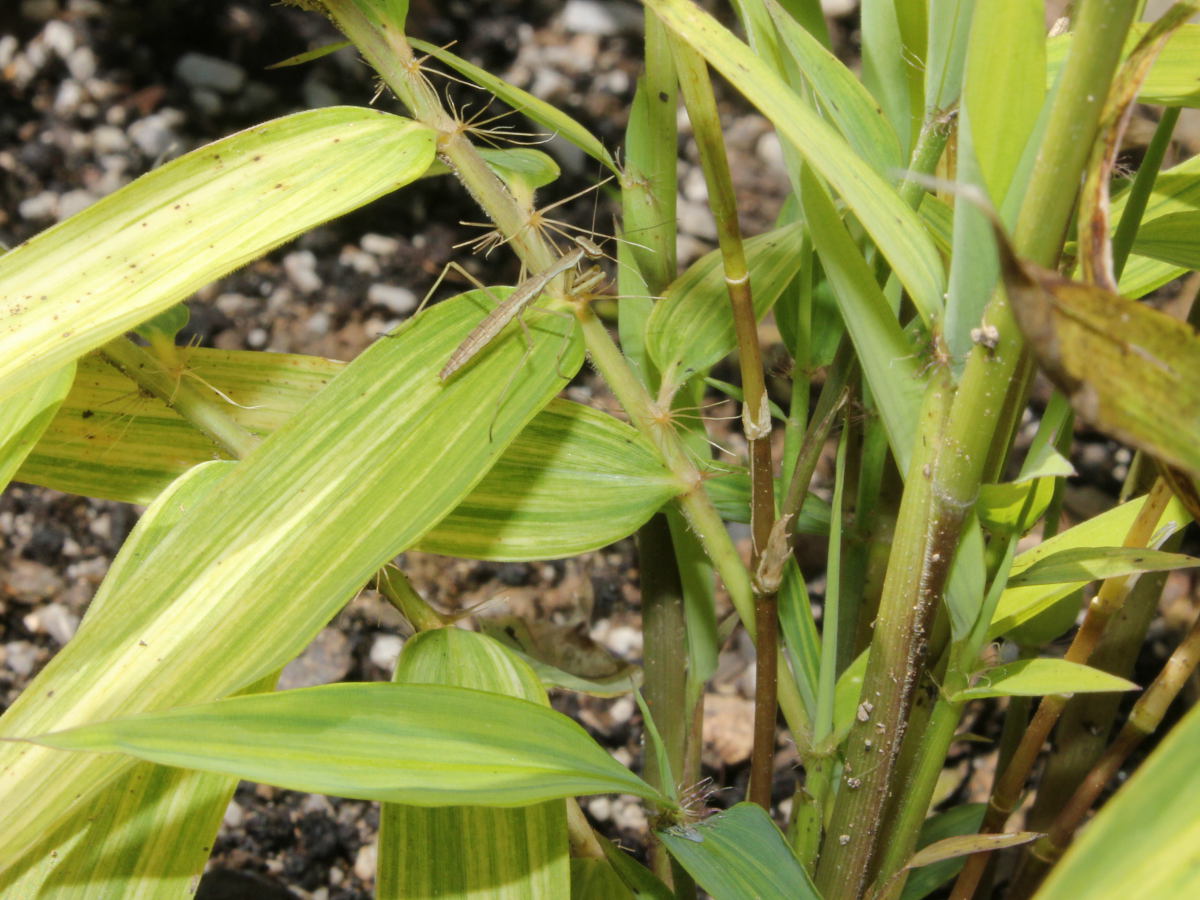
Quick update on 3 variegated P. arcana ‘Luteosulcata’ seedlings
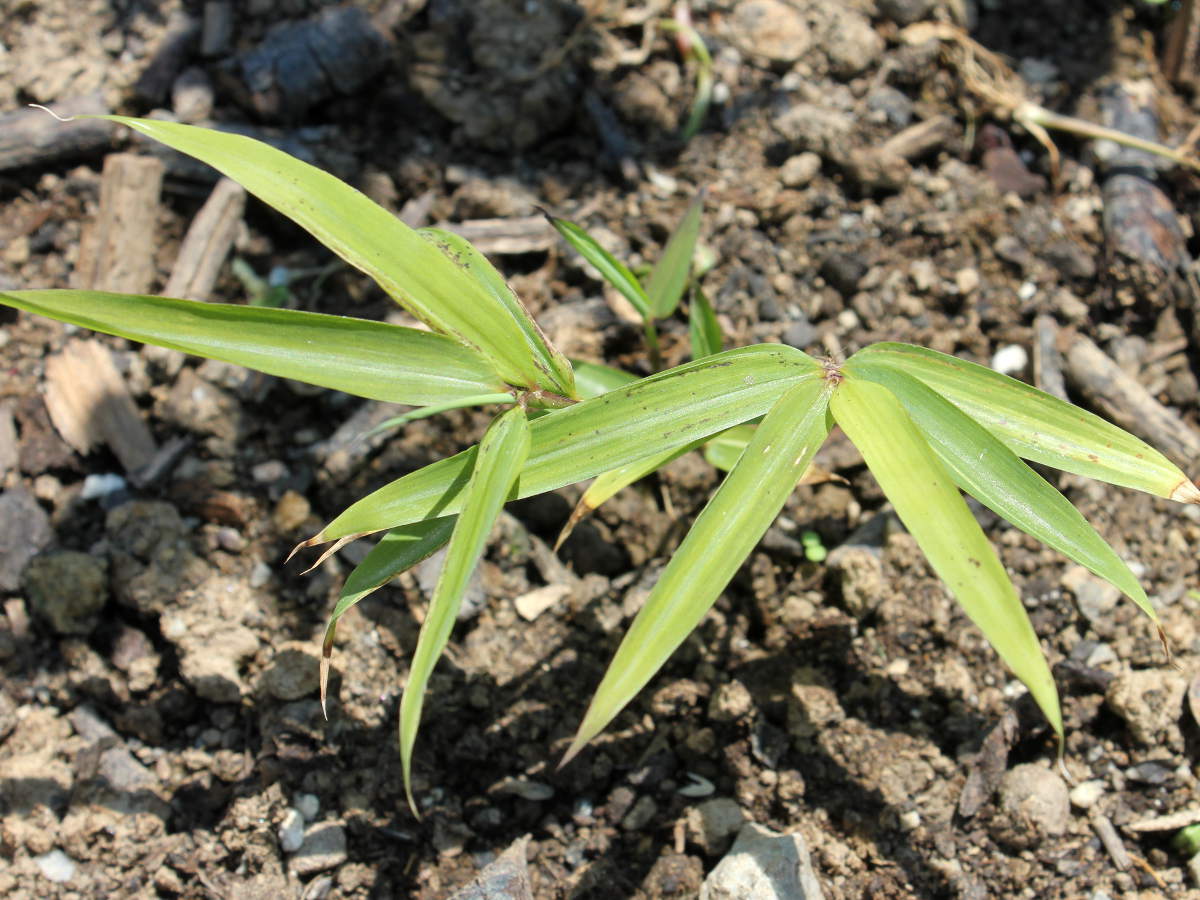
I’ve already been writing about possible variegated seedlings from the second batch of seedlings. The variegated seedling from the test germination of 10 seeds remains my most variegated Phyllostachys arcana ‘Luteosulcata’ seedling. The other 3 possible variegated seedlings still show signs of variegation, but they are far smaller and variegation can not be confirmed. The seedlings in the second batch were sown tightly and became weak as they started to grow larger. I failed to plant them into individual pots on time and I’ve lost some of the seedlings that started drying out due to lack of light and water. One of the most affected was the second most variegated seedling that refused to start shooting even when other seedlings started to put out their second shoot.
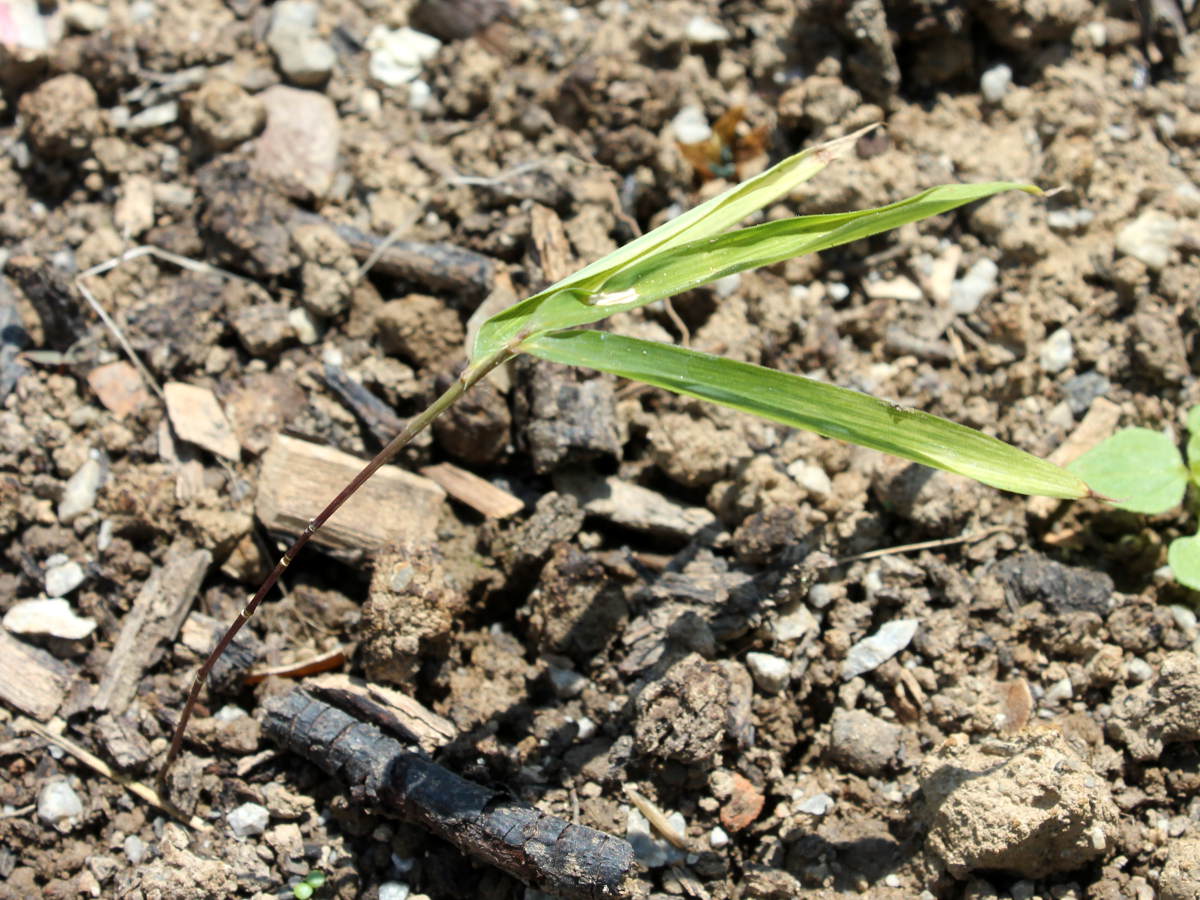
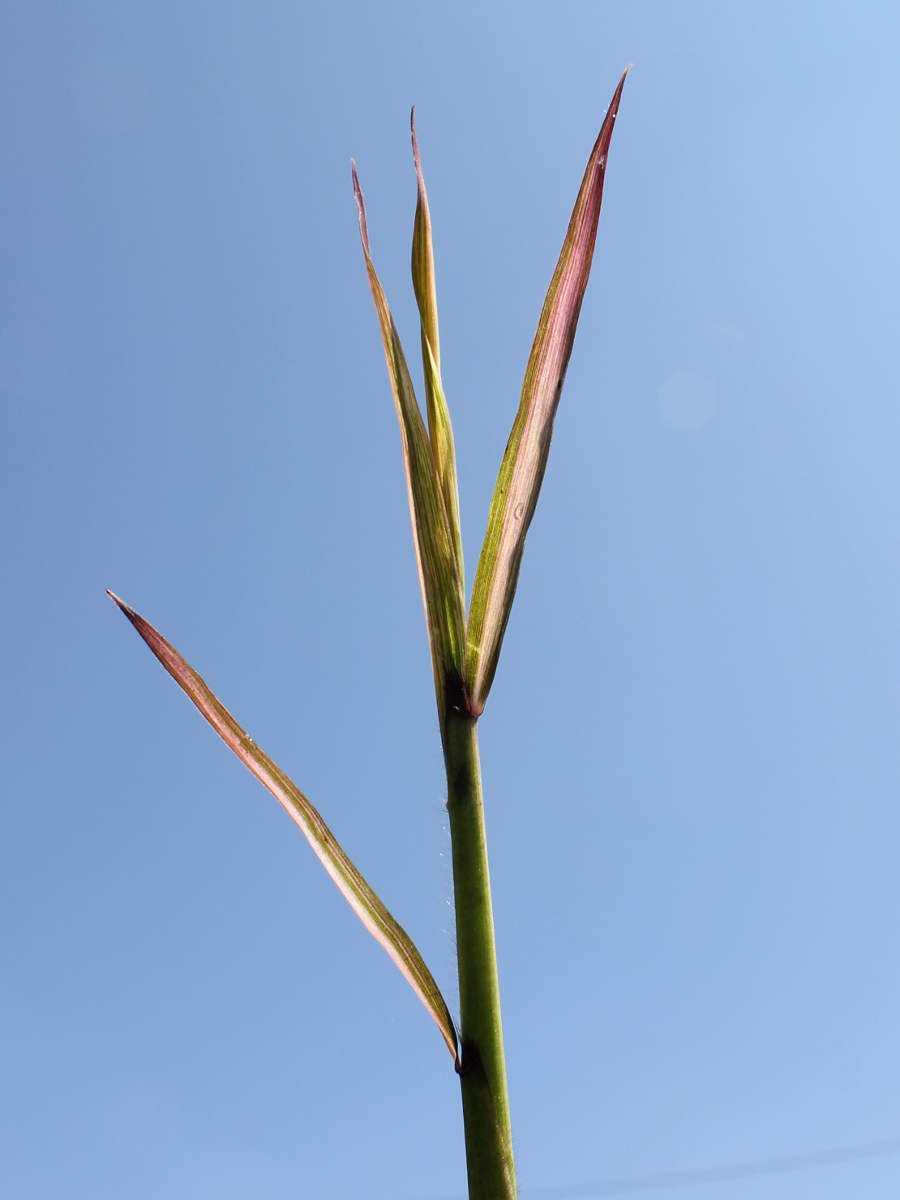
I found it completely dried out and it seemed to be lost, with only 3 remaining leaves, that were also folded all the time, except during night, early morning and rainy weather. I decided to plant it into compost in the raised bed together with other two variegated seedlings and hope for the best. After almost two months, it somewhat recovered and now it’s pushing two small shoots that prove it’s going to live.
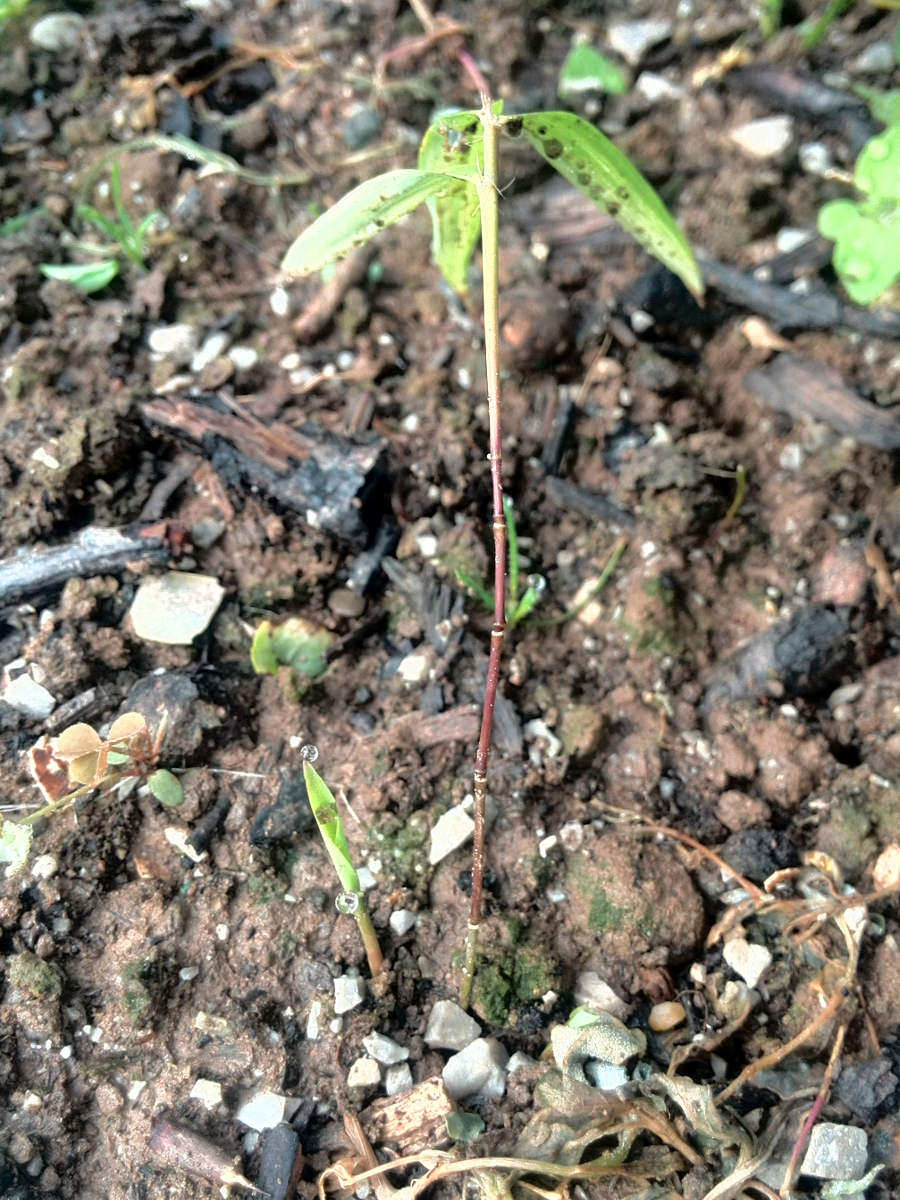
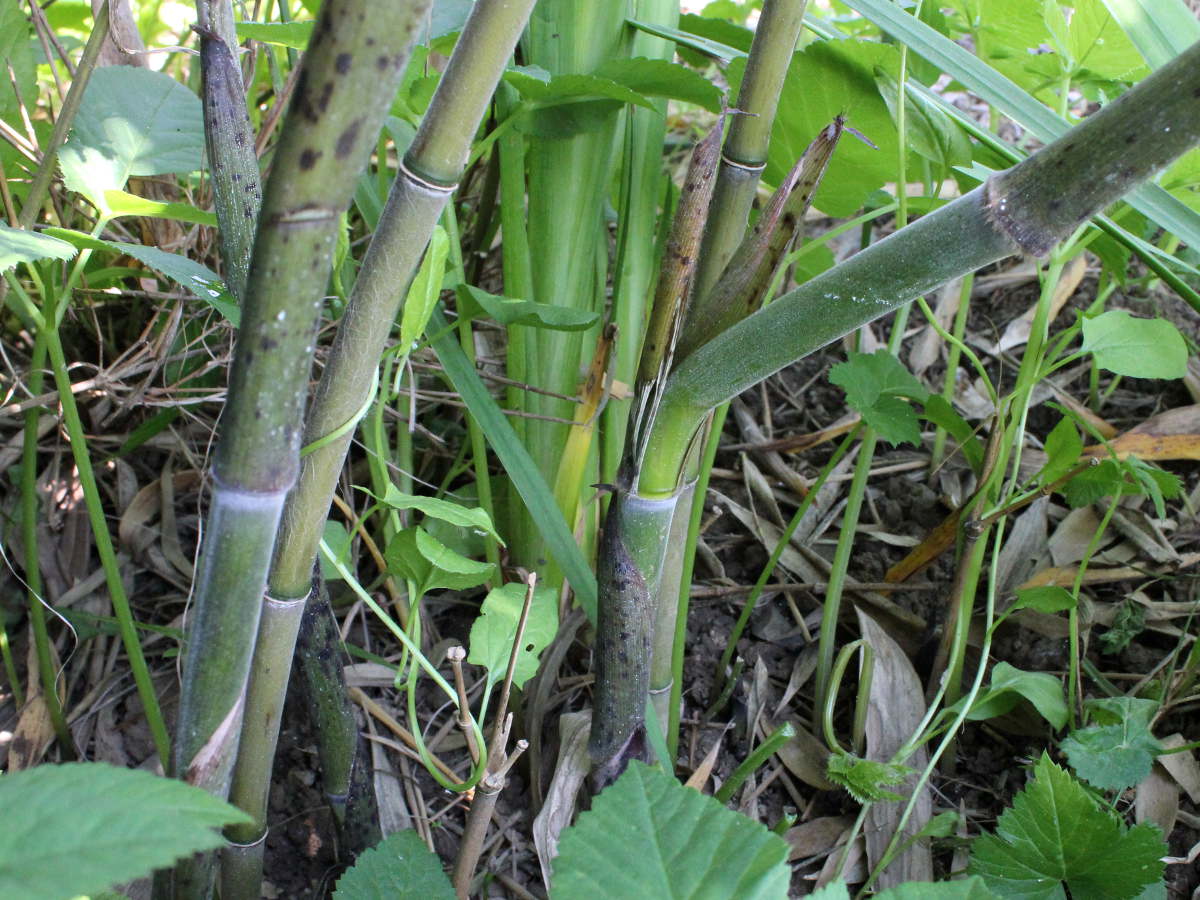
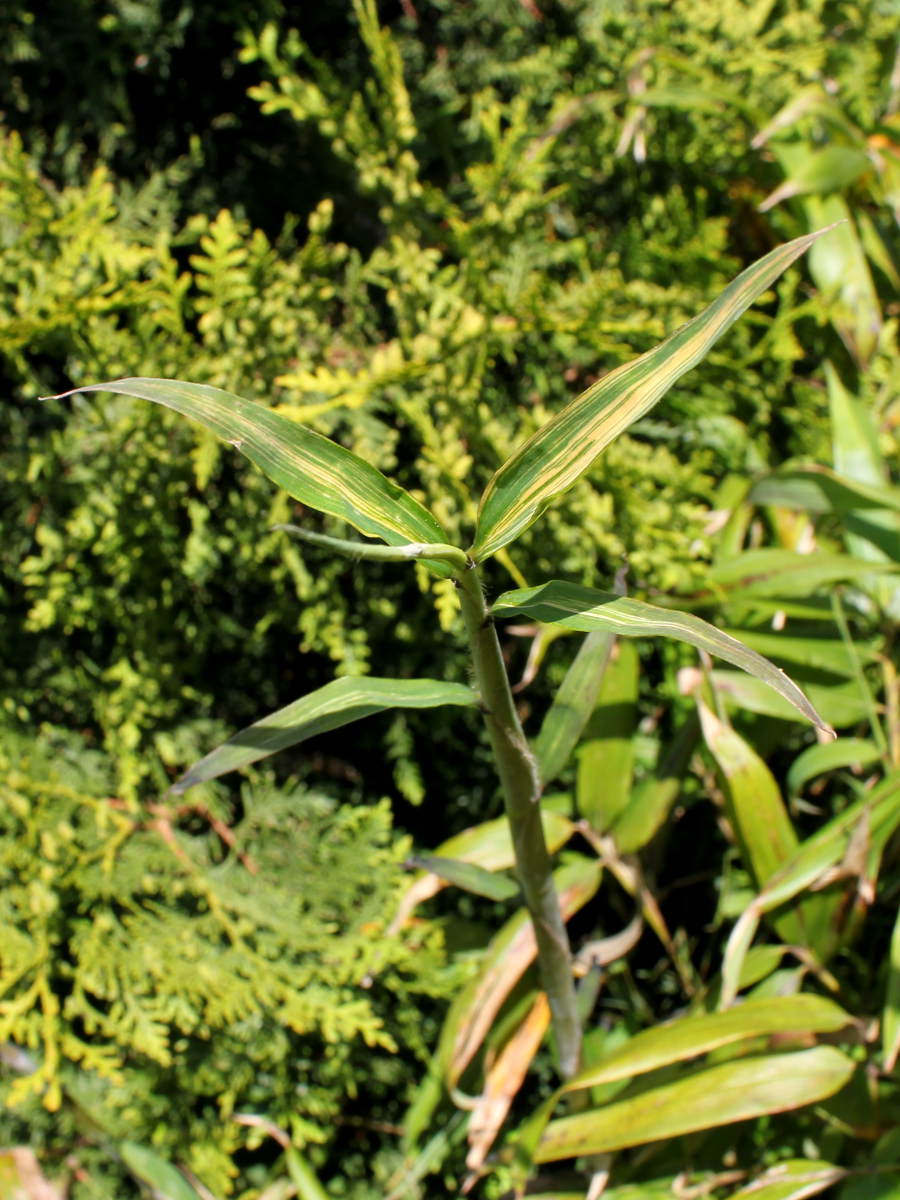
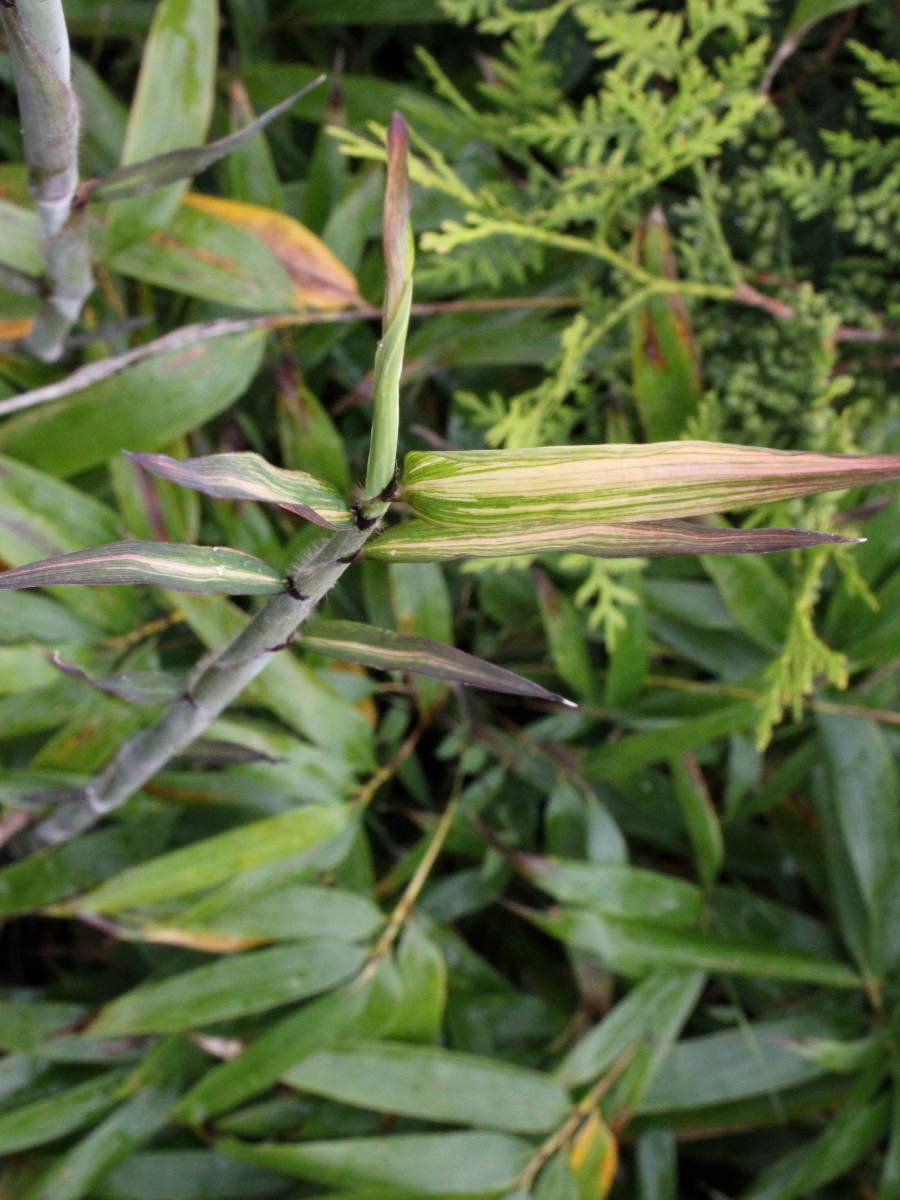
The third seedling, the one that was dark green with white variegation, looking as inverse version of the first seedling is growing into almost completely green seedling. It’s growing slowly and it changed variegation along the way into white stripe on dark green leaf, similar to Phyllostachys aureosulcata ‘Spectabilis’, but that faded out too. It will be interesting to see if it returns or not. By planting it outside, it should grow fast enough to discover its possible unique features further.