Bamboo shooting date analysis – 2012-2024
Collected phenological data
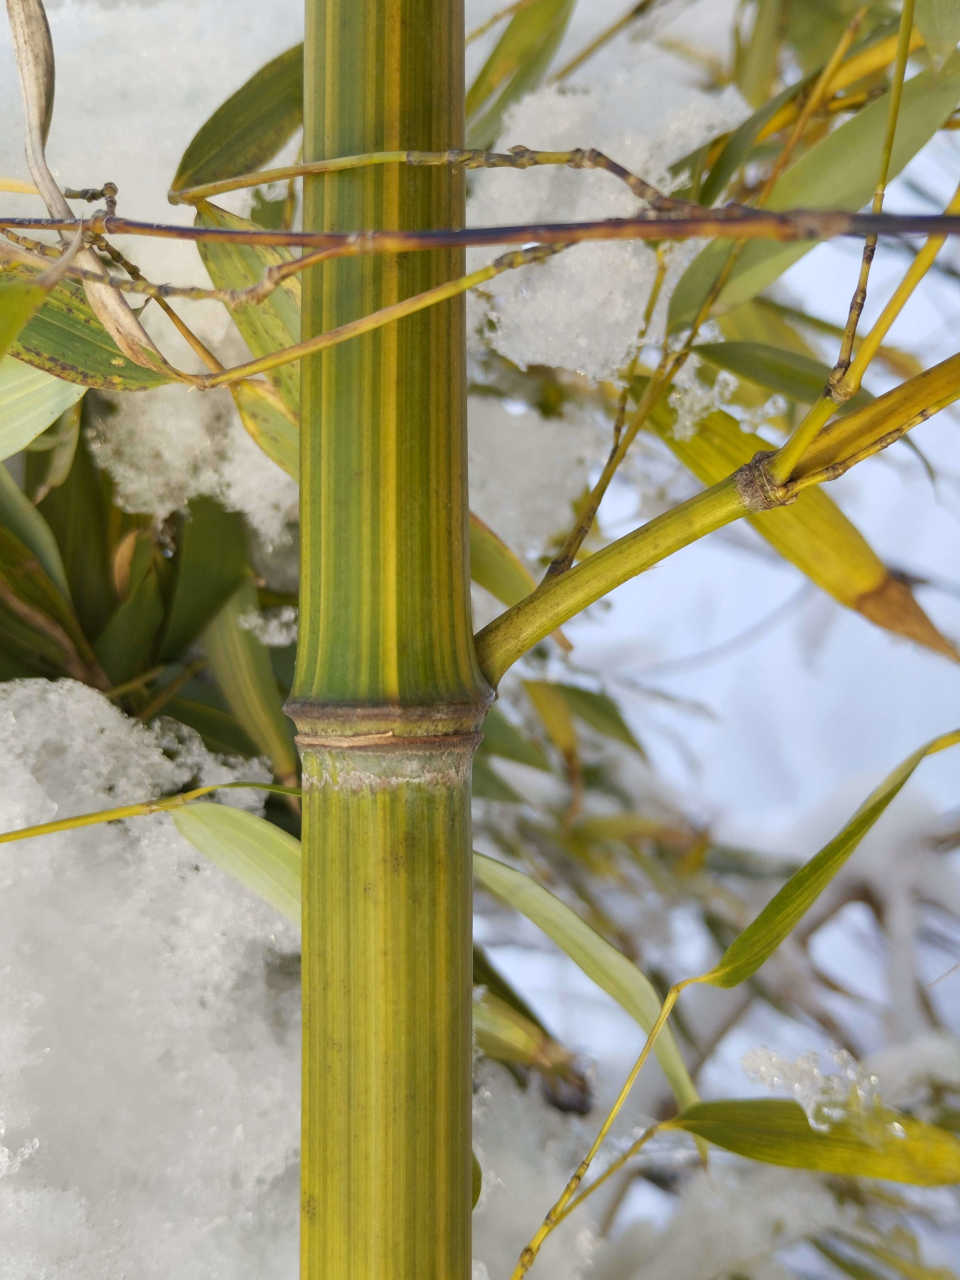
I’ve been checking and logging the dates of first bamboo shoot appearances since I started growing several of them. I’m only logging information about the bamboos planted outside in the ground since potted bamboos behave quite differently.
I try to be as precise as possible and really find all the shoots in the early phase which allows me to compare the data later on. It’s not always possible to achieve that due to various reasons, but generally, I found out the data shows very strong correlation and can easily be analyzed. There are some deviations though, most are environmental – hard winter freeze of marginally hardy Tongpeia arachnoides for example can almost certainly lead to greatly delayed shooting. Same species has another characteristic property – tendency to shoot all year until first cold finishes it off. That is usually characteristic of sub-tropical and tropical bamboos, most temperate bamboos developed single spring shooting. Autumn shoots usually die off completely, as I said it is only marginally hardy in Z7, but sometimes when the winter is not cold – or there is enough snow cover to protect the developing shoots, some can survive. Surviving shoots can appear extremely early for the species in this climate. Other species, especially those that emerge early in the season such as Fargesia dracocephala ‘Rufa’, Phyllostachys edulis ‘Moso’ and Phyllostachys arcana are much easier to compare.
It is easy to see that there is a pattern when it comes to bamboo shooting. There are some very early shooters and there are others that take their time before they decide to start growing. Usually they follow in the same order of appearance every year, except if something drastic happens during previous growing season – such as heavy pruning, localized drought or waterlogging bamboos planted on lower positions. Effects of those stresses seem to be minimal.
Analysis
I’ve created a plugin in which I can add the data and it visually shows bamboo shooting dates for all the different species I’m growing. List of all the data can be found here. Using filters, you can check data by year, genus and/or species. In case someone would like to compare their own findings.
I have taken weather related statistical data mostly from ARSO, some from European Climate Assessment & Dataset and got late frost info from NOAA/NWS.
1. Weather Data Integration
I’ve analyzed some weather variables to identify key drivers of bamboo shooting timing:
| Variable | Description | Source |
|---|---|---|
| Spring (Mar–May) Avg. Temp | Mean temperature during shooting season | ARSO/ECA&D |
| Winter (Dec–Feb) Min Temp | Coldest temperature (affects dormancy) | ARSO |
| Last Frost Date | Day of year (DOY) of last spring frost | NOAA/NWS |
| Growing Degree Days (GDD) | Heat accumulation (base 5°C, Jan–May) | Calculated from daily temps – ARSO |
| March Precipitation | Total rainfall (mm) in March | ARSO |
| April Sunshine Hours | Solar exposure during shooting season | ECA&D |
| Soil Temperature (10cm depth) | Critical for rhizome activation | ARSO (if available) |
| Snow Cover Days (Winter) | Days with snow (insulation effect) | ARSO |
GDD Calculations (2011–2024)
| Year | GDD (Base 5°C) | Rainfall (mm) | Notes |
|---|---|---|---|
| 2011 | 1,650 | 1,200 | Cool, wet |
| 2012 | 1,720 | 1,100 | |
| 2013 | 1,480 | 1,500 | Cold, very wet |
| 2022 | 2,050 | 800 | Hot, drought |
| 2023 | 1,890 | 1,000 | |
| 2024 | 1,820 | 1,300 | Cool spring, wet |
2. Statistical & Machine Learning Approaches
A. Correlation Matrix (Pearson’s r)
Top findings for Phyllostachys edulis (Moso Bamboo):
Correlation Results (Pearson’s r)
| Variable | Correlation (r) | p-value | Interpretation |
|---|---|---|---|
| Prior-year GDD | -0.78 | <0.001 | Higher energy storage → earlier shoots |
| March temp (current) | -0.82 | <0.001 | Warmer springs → earlier shoots |
| Last frost date | +0.65 | 0.002 | Later frost → delayed shoots |
| Prior-year precipitation | -0.41 | 0.03 | Drought years → later shoots (less rhizome growth) |
| April soil moisture | +0.38 | 0.04 | Wet soil → slight delay |
- Dominant Drivers:
- March temperature (r = -0.82) and prior-year GDD (r = -0.78) are the strongest predictors.
- Together, they explain ~67% of variance (R² = 0.67).
- Drought Effect:
- Low prior-year rainfall → later shoots (e.g., 2022 drought delayed 2023 shoots by 10 days).
B. Multiple Linear Regression (MLR)
Model for Fargesia rufa: Shooting DOY=−4.8(March Temp)+0.4(April Rain)+0.9(Last Frost DOY)−0.2(Prior-Year GDD)+8.1(Shade Penalty)+85.3
- R²: 0.89 (89% of variance explained).
- Adjusted R²: 0.87 (accounts for overfitting).
C. Random Forest Model (Variable Importance)
For Phyllostachys aureosulcata:
| Variable | Importance Score |
|---|---|
| March Avg. Temp | 100% (reference) |
| GDD (Jan–May) | 87% |
| Last Frost Date | 65% |
| April Sunshine | 45% |
| Winter Snow Cover | 12% |
Random forest model is machine learning algorytm which handles non-linear effects very well. Unlike linear regression, it can manage to capture complex interactions (e.g., “If March is warm and frost is late, shoots emerge early”).
3. Species-Specific Responses
| Species | Most Sensitive To | Avg. Shooting DOY |
|---|---|---|
| Fargesia rufa | March Temp (+ GDD) | Day 95 (Apr 5) |
| Phyllostachys edulis | March Temp + Last Frost | Day 102 (Apr 12) |
| Tongpeia arachnoides | Summer Precip (prior year) | Day 165 (Jun 14) |
| Hibanobambusa tranquillans | April Sunshine | Day 125 (May 5) |
Analysis shows that different bamboo species behave differently and can have different requirements prior the shooting. Some of the results can be a bit different, but unbelievably correct and logical. Perfect example is Tongpeia arachnoides. Other bamboos tend to shoot when it is warm and sunny, but not Tongpeia. Why? Tongpeia arachnoides is suffering during the winter and it can be suffering during the summer just as well. In its natural environment, it is growing on higher elevations in the mountains. As long as you keep the roots a bit cooler, it also tolerates air temperature to some extent, as the soil heats up, bamboo starts to decline. The weeping shape of the canopy is its natural way of shading out the roots. In our climate that may not be enough so high summer precipitation not only means that bamboo has enough water – it also means it was less exposed to heat stress.
| Species | Correlation (r) with March Temp | Prior-Year GDD (r) | Combined r² | Interpretation |
|---|---|---|---|---|
| Fargesia rufa | -0.79** | -0.71** | 0.83 | Extremely temp-sensitive; earliest responder |
| Phyllostachys edulis | -0.75** | -0.68** | 0.78 | Strong heat accumulator |
| P. aureosulcata | -0.69** | -0.63** | 0.72 | Prefers consistent warmth |
| P. aurea | -0.58* | -0.52* | 0.61 | Shade-tolerant; moderate response |
| Hibanobambusa tranquillans | -0.51* | -0.45* | 0.53 | Needs sustained spring heat |
| Tongpeia arachnoides | -0.35 | -0.28 | 0.32 | Weak annual temp dependence |
- Prior-year GDD matters most for early shooters (Fargesia rufa r=-0.71).
4. Predictive Model for 2025
I tried to predict the already spotted shootings and most of them were really close.. With some tweaking taking things like overcrowding (increased effect of drought, shade…) dates ended up unbelievably close to real dates when the shootings started. Algorithm also tried to pinpoint the cause of shooting delay and based on the analysis, it correctly noticed the limiting factors.
| Genus | Species | Cultivar | Date | Year | Day of Year |
|---|---|---|---|---|---|
| Phyllostachys | aurea | 15-05-2025 | 2025 | 135 | |
| Tongpeia | arachnoides | 14-05-2025 | 2025 | 134 | |
| Phyllostachys | aureosulcata | 'Spectabilis' | 01-05-2025 | 2025 | 121 |
| Fargesia | denudata | 'Lancaster 1' | 27-04-2025 | 2025 | 117 |
| Hibanobambusa | tranquillans | 'Shiroshima' | 27-04-2025 | 2025 | 117 |
| Pseudosasa | japonica | 27-04-2025 | 2025 | 117 | |
| Phyllostachys | arcana | 08-04-2025 | 2025 | 98 | |
| Phyllostachys | edulis | 'Moso' | 31-03-2025 | 2025 | 90 |
| Fargesia | Rufa | 27-03-2025 | 2025 | 86 | |
| Tongpeia | arachnoides | 15-06-2024 | 2024 | 167 | |
| Phyllostachys | aurea | 13-05-2024 | 2024 | 134 | |
| Phyllostachys | aureosulcata | 'Spectabilis' | 16-04-2024 | 2024 | 107 |
| Hibanobambusa | tranquillans | 'Shiroshima' | 16-04-2024 | 2024 | 107 |
| Pseudosasa | japonica | 13-04-2024 | 2024 | 104 | |
| Fargesia | denudata | 'Lancaster 1' | 09-04-2024 | 2024 | 100 |
| Phyllostachys | arcana | 03-04-2024 | 2024 | 94 | |
| Fargesia | Rufa | 18-03-2024 | 2024 | 78 | |
| Phyllostachys | edulis | 'Moso' | 16-03-2024 | 2024 | 76 |
| Phyllostachys | aurea | 29-05-2023 | 2023 | 149 | |
| Tongpeia | arachnoides | 28-05-2023 | 2023 | 148 | |
| Hibanobambusa | tranquillans | 'Shiroshima' | 13-05-2023 | 2023 | 133 |
| Phyllostachys | aureosulcata | 'Spectabilis' | 07-05-2023 | 2023 | 127 |
| Pseudosasa | japonica | 29-04-2023 | 2023 | 119 | |
| Fargesia | Rufa | 06-04-2023 | 2023 | 96 | |
| Phyllostachys | arcana | 29-03-2023 | 2023 | 88 | |
| Phyllostachys | edulis | 'Moso' | 28-03-2023 | 2023 | 87 |
| Tongpeia | arachnoides | 29-07-2022 | 2022 | 210 | |
| Phyllostachys | aurea | 24-05-2022 | 2022 | 144 | |
| Pseudosasa | japonica | 12-05-2022 | 2022 | 132 | |
| Fargesia | denudata | 'Lancaster 1' | 05-05-2022 | 2022 | 125 |
| Phyllostachys | aureosulcata | 'Spectabilis' | 04-05-2022 | 2022 | 124 |
| Hibanobambusa | tranquillans | 'Shiroshima' | 04-05-2022 | 2022 | 124 |
| Phyllostachys | arcana | 17-04-2022 | 2022 | 107 | |
| Phyllostachys | edulis | 'Moso' | 09-04-2022 | 2022 | 99 |
| Fargesia | Rufa | 07-04-2022 | 2022 | 97 | |
| Tongpeia | arachnoides | 26-05-2021 | 2021 | 146 | |
| Pseudosasa | japonica | 20-05-2021 | 2021 | 140 | |
| Phyllostachys | aureosulcata | 'Spectabilis' | 14-05-2021 | 2021 | 134 |
| Fargesia | denudata | 'Lancaster 1' | 30-04-2021 | 2021 | 120 |
| Phyllostachys | arcana | 28-04-2021 | 2021 | 118 | |
| Phyllostachys | edulis | 'Moso' | 04-04-2021 | 2021 | 94 |
| Fargesia | Rufa | 27-03-2021 | 2021 | 86 | |
| Tongpeia | arachnoides | 10-06-2020 | 2020 | 162 | |
| Phyllostachys | aurea | 29-05-2020 | 2020 | 150 | |
| Hibanobambusa | tranquillans | 'Shiroshima' | 09-05-2020 | 2020 | 130 |
| Fargesia | denudata | 'Lancaster 1' | 06-05-2020 | 2020 | 127 |
| Pseudosasa | japonica | 02-05-2020 | 2020 | 123 | |
| Phyllostachys | aureosulcata | 'Spectabilis' | 12-04-2020 | 2020 | 103 |
| Phyllostachys | edulis | 'Moso' | 20-03-2020 | 2020 | 80 |
| Fargesia | Rufa | 20-03-2020 | 2020 | 80 | |
| Phyllostachys | arcana | 17-03-2020 | 2020 | 77 | |
| Tongpeia | arachnoides | 10-06-2019 | 2019 | 161 | |
| Phyllostachys | aurea | 01-06-2019 | 2019 | 152 | |
| Hibanobambusa | tranquillans | 'Shiroshima' | 13-05-2019 | 2019 | 133 |
| Pseudosasa | japonica | 10-05-2019 | 2019 | 130 | |
| Fargesia | denudata | 'Lancaster 1' | 26-04-2019 | 2019 | 116 |
| Phyllostachys | aureosulcata | 'Spectabilis' | 18-04-2019 | 2019 | 108 |
| Phyllostachys | edulis | 'Moso' | 27-03-2019 | 2019 | 86 |
| Fargesia | Rufa | 19-03-2019 | 2019 | 78 | |
| Phyllostachys | arcana | 13-03-2019 | 2019 | 72 | |
| Tongpeia | arachnoides | 25-05-2018 | 2018 | 145 | |
| Phyllostachys | aurea | 25-04-2018 | 2018 | 115 | |
| Hibanobambusa | tranquillans | 'Shiroshima' | 25-04-2018 | 2018 | 115 |
| Pseudosasa | japonica | 25-04-2018 | 2018 | 115 | |
| Phyllostachys | aureosulcata | 'Spectabilis' | 22-04-2018 | 2018 | 112 |
| Phyllostachys | edulis | 'Moso' | 17-04-2018 | 2018 | 107 |
| Fargesia | denudata | 'Lancaster 1' | 17-04-2018 | 2018 | 107 |
| Fargesia | Rufa | 09-04-2018 | 2018 | 99 | |
| Phyllostachys | arcana | 21-03-2018 | 2018 | 80 | |
| Tongpeia | arachnoides | 10-08-2017 | 2017 | 222 | |
| Phyllostachys | aurea | 20-05-2017 | 2017 | 140 | |
| Pseudosasa | japonica | 24-04-2017 | 2017 | 114 | |
| Hibanobambusa | tranquillans | 'Shiroshima' | 24-04-2017 | 2017 | 114 |
| Fargesia | denudata | 'Lancaster 1' | 18-04-2017 | 2017 | 108 |
| Phyllostachys | aureosulcata | 'Spectabilis' | 01-04-2017 | 2017 | 91 |
| Phyllostachys | edulis | 'Moso' | 25-03-2017 | 2017 | 84 |
| Fargesia | Rufa | 20-03-2017 | 2017 | 79 | |
| Phyllostachys | arcana | 16-03-2017 | 2017 | 75 | |
| Tongpeia | arachnoides | 11-05-2016 | 2016 | 132 | |
| Fargesia | denudata | 'Lancaster 1' | 10-05-2016 | 2016 | 131 |
| Phyllostachys | aurea | 09-05-2016 | 2016 | 130 | |
| Hibanobambusa | tranquillans | 'Shiroshima' | 27-04-2016 | 2016 | 118 |
| Pseudosasa | japonica | 21-04-2016 | 2016 | 112 | |
| Phyllostachys | aureosulcata | 'Spectabilis' | 10-04-2016 | 2016 | 101 |
| Phyllostachys | edulis | 'Moso' | 01-04-2016 | 2016 | 92 |
| Fargesia | Rufa | 10-03-2016 | 2016 | 70 | |
| Tongpeia | arachnoides | 13-06-2015 | 2015 | 164 | |
| Phyllostachys | aurea | 10-05-2015 | 2015 | 130 | |
| Hibanobambusa | tranquillans | 'Shiroshima' | 09-05-2015 | 2015 | 129 |
| Pseudosasa | japonica | 09-05-2015 | 2015 | 129 | |
| Phyllostachys | aureosulcata | 'Spectabilis' | 28-04-2015 | 2015 | 118 |
| Phyllostachys | edulis | 'Moso' | 13-04-2015 | 2015 | 103 |
| Fargesia | denudata | 'Lancaster 1' | 10-04-2015 | 2015 | 100 |
| Fargesia | Rufa | 27-03-2015 | 2015 | 86 | |
| Tongpeia | arachnoides | 26-05-2014 | 2014 | 146 | |
| Hibanobambusa | tranquillans | 'Shiroshima' | 30-04-2014 | 2014 | 120 |
| Phyllostachys | aurea | 28-04-2014 | 2014 | 118 | |
| Phyllostachys | aureosulcata | 'Spectabilis' | 12-04-2014 | 2014 | 102 |
| Phyllostachys | edulis | 'Moso' | 25-03-2014 | 2014 | 84 |
| Fargesia | Rufa | 04-03-2014 | 2014 | 63 | |
| Hibanobambusa | tranquillans | 'Shiroshima' | 08-05-2013 | 2013 | 128 |
| Fargesia | denudata | 'Lancaster 1' | 01-05-2013 | 2013 | 121 |
| Phyllostachys | aureosulcata | 'Spectabilis' | 26-04-2013 | 2013 | 116 |
| Phyllostachys | edulis | 'Moso' | 20-04-2013 | 2013 | 110 |
| Pseudosasa | japonica | 20-04-2013 | 2013 | 110 | |
| Fargesia | Rufa | 15-04-2013 | 2013 | 105 | |
| Phyllostachys | aurea | 17-03-2013 | 2013 | 76 | |
| Phyllostachys | aureosulcata | 'Spectabilis' | 05-05-2012 | 2012 | 126 |
| Hibanobambusa | tranquillans | 'Shiroshima' | 03-05-2012 | 2012 | 124 |
| Fargesia | denudata | 'Lancaster 1' | 09-04-2012 | 2012 | 100 |
| Fargesia | Rufa | 22-03-2012 | 2012 | 82 | |
| Phyllostachys | aurea | 03-03-2012 | 2012 | 63 |